There will be several places in our house where it would make sense to install a flush-mounted multimedia channel*. We are planning to install channels measuring 1.5 to 2 meters in length, with end caps at both ends. The following locations are being considered:
- Living room
- Bedroom
- Workshop
- Dining room
- Kitchen
- Computer room
So, assuming 2 meters, we need more or less 12 meters of ducting. In reality, it will of course be a little less; in the workshop, for example, the ducting will only be about one meter long. After doing some research, I found that the ready-made sets were either suboptimal or very overpriced.
What to do?
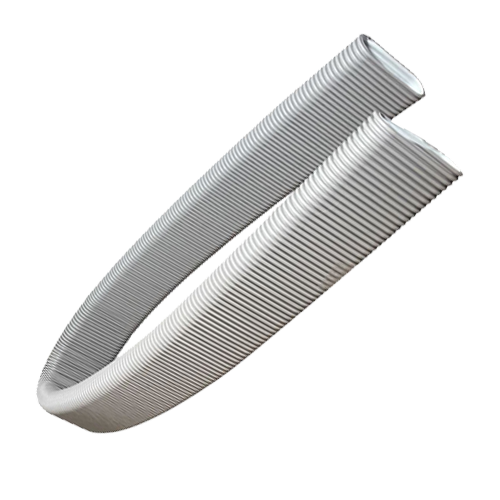
While searching for alternatives, I repeatedly came across the idea of simply using a flush-mounted ventilation duct on several blogs and websites. These ventilation ducts have grooves on the outside, which makes plastering or fastening them much easier. However, the inner walls are smooth, which makes them ideal for use as cable ducts. In addition, the material can be easily cut to length with a utility knife and the necessary cutouts can be made later with a hole saw.
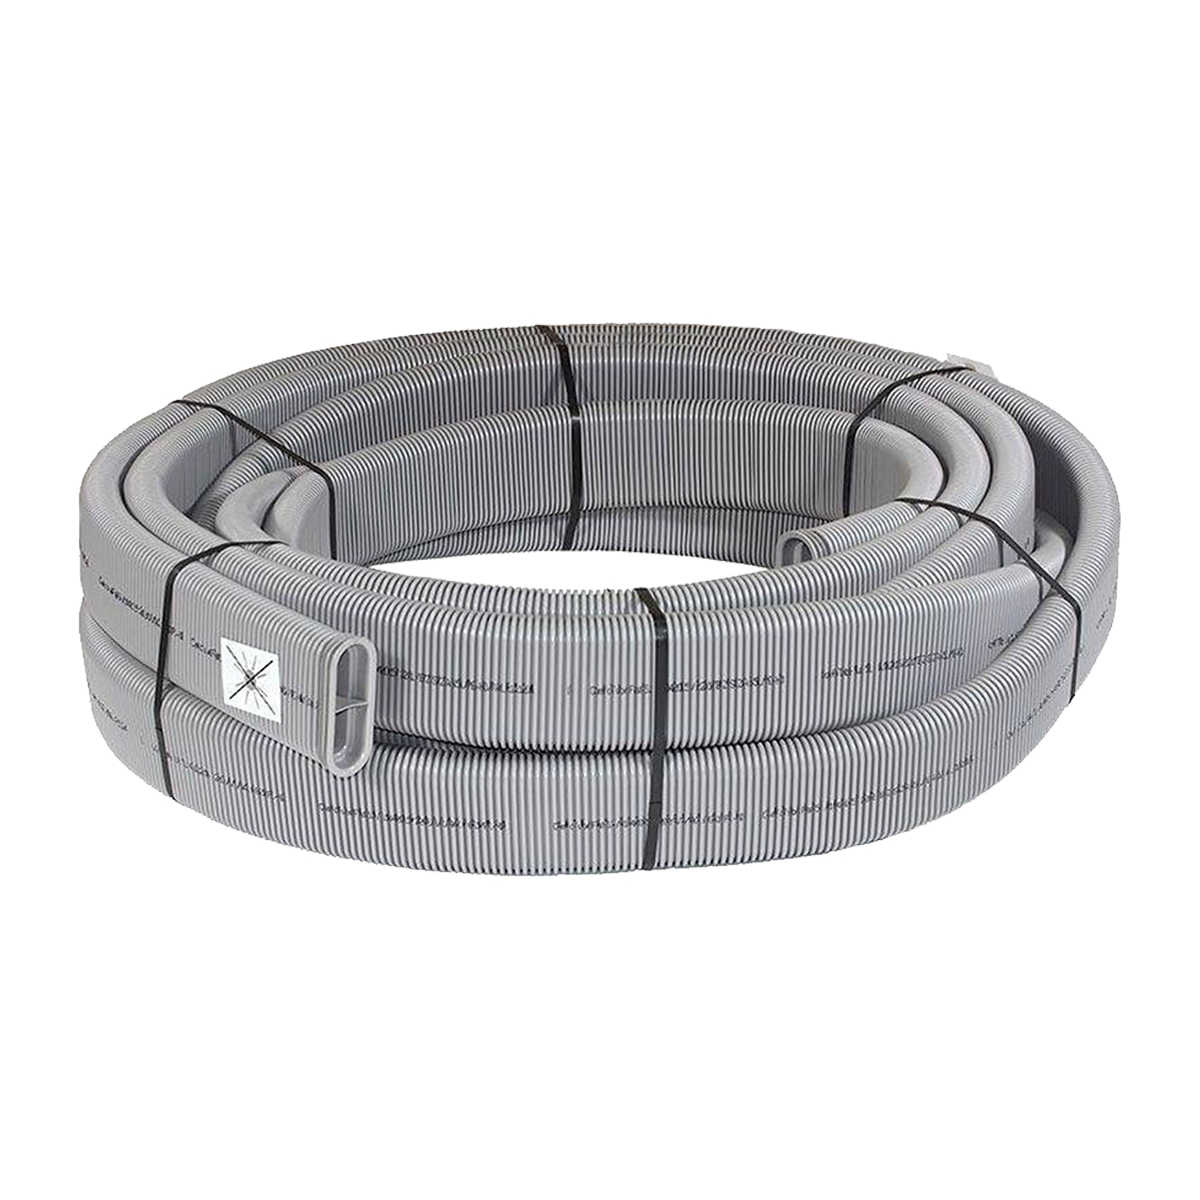
I immediately liked the idea, but there was one catch: these ventilation ducts are expensive and can only be purchased in large quantities by private individuals. Fifteen meters would have been ideal for us, with a little leeway for mistakes or new ideas.
 ⧉ Zehnder
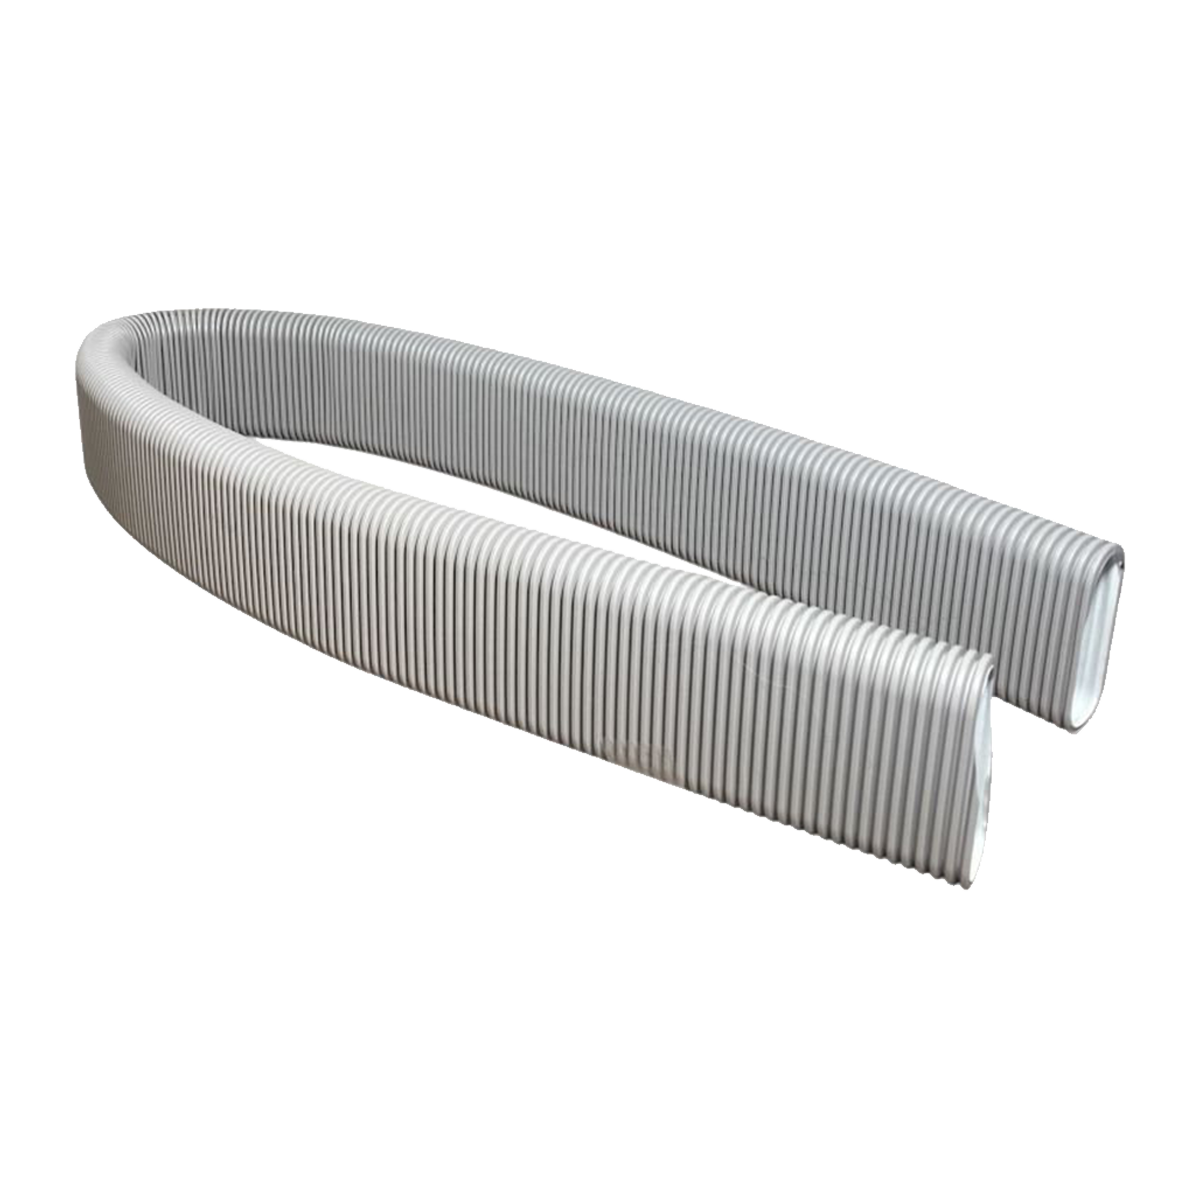 ⧉ Zehnder
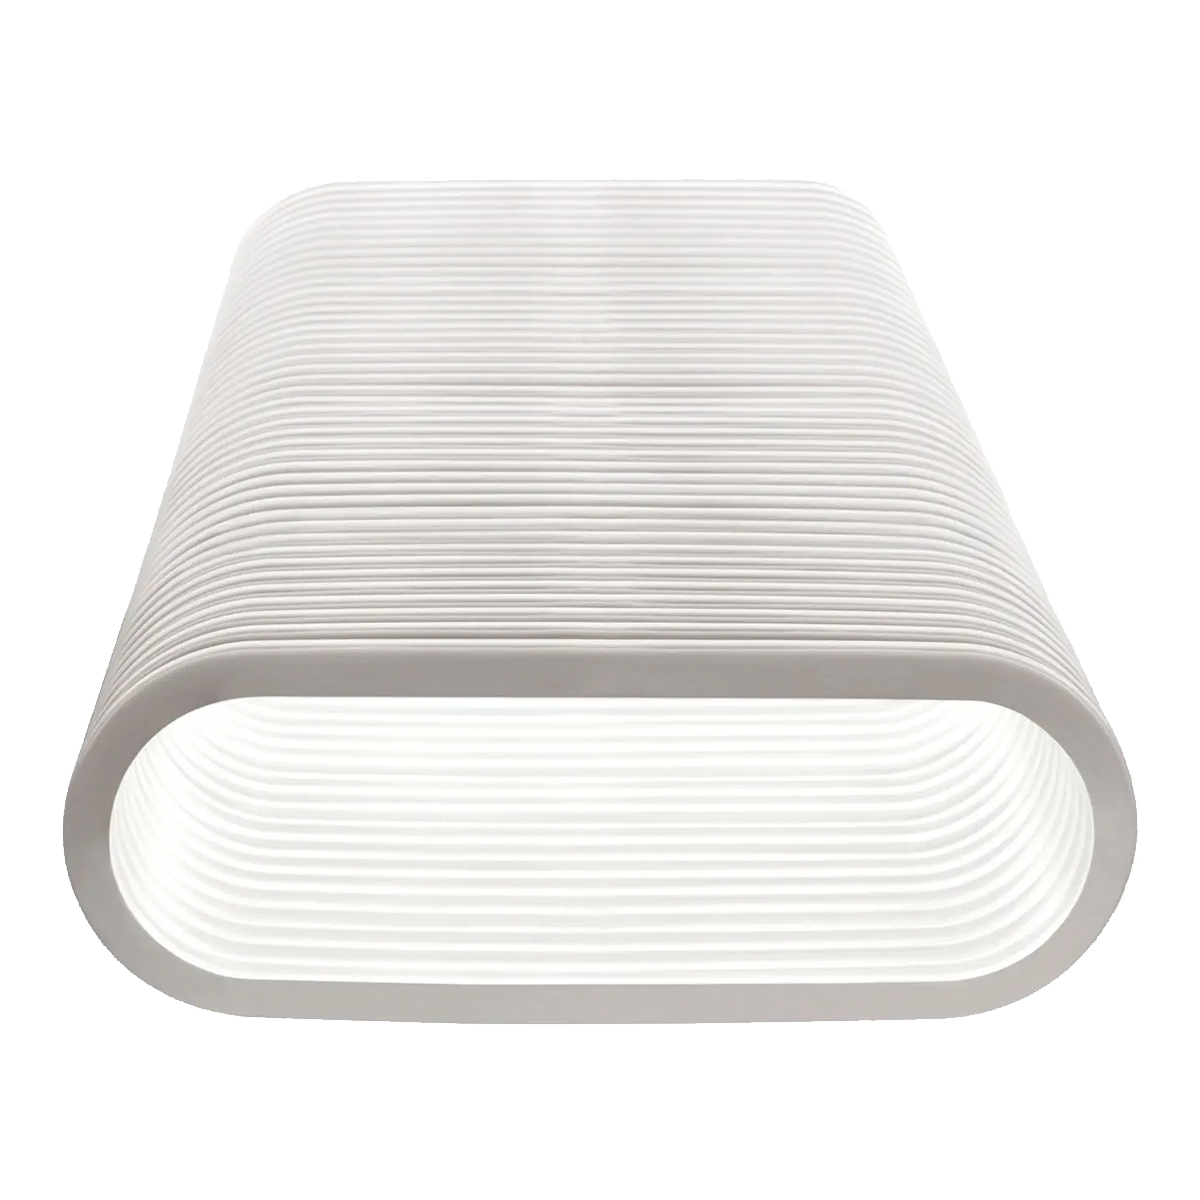 ⧉ Zehnder
I didn’t find that, but I did find a dealer who sold me 20 meters of Zehnder Comfotube 51 flat, including shipping costs, for just under €300, which works out to just €15 per meter, which seems downright cheap considering the available solutions.
I 3D-printed the end caps from PLA and glued them into the pre-cut channels with acrylic. The finished channel can either be fixed in the wall with PU foam or filled in with multiple layers of filler. I filled it and, after plastering, simply drilled the necessary holes through the plaster into the channel at the previously marked points using an 83 mm hole saw*. I then glued 3D-printed bushings into the wall using silicone and later screwed or plugged a “hole cover” into them.
Conclusion
The result is great, better than any ready-made solution could be AND also significantly cheaper. I also have a lot of flexibility with the duct dimensions. In the computer room, for example, the duct does not run from the installation height above the floor to approximately the middle of the room, but instead from the ceiling to the middle of the room, as it will be supplied from above.
I first came across this solution on 100prznt.de. Thank you very much for the great idea—unfortunately, the site is no longer available. However, this solution has also been chosen in other places.
Downloads
I am providing the STL files for the parts I created here, including the end cap that originally came from 100prznt.de – unfortunately, it is no longer available there. If this is not acceptable, please send me an email and I will remove this file, of course:


Update from January 14, 2026:
The original files for the end cap can still be found at Printables from the original creator!
However, the original bottom of the website is still not functional.