The method Apple has long promoted for creating your own ringtones is to use an in-house app called “GarageBand” – which is well described by the manufacturer. Nevertheless, I have always found it more convenient to carry out this process on a computer.
It’s easier to do on a large screen and Windows is the most common operating system on home computers. So, I’ll now describe how to create custom ringtones for iOS or iPadOS on a Windows computer.
Requirements, limitations – Software and hardware used
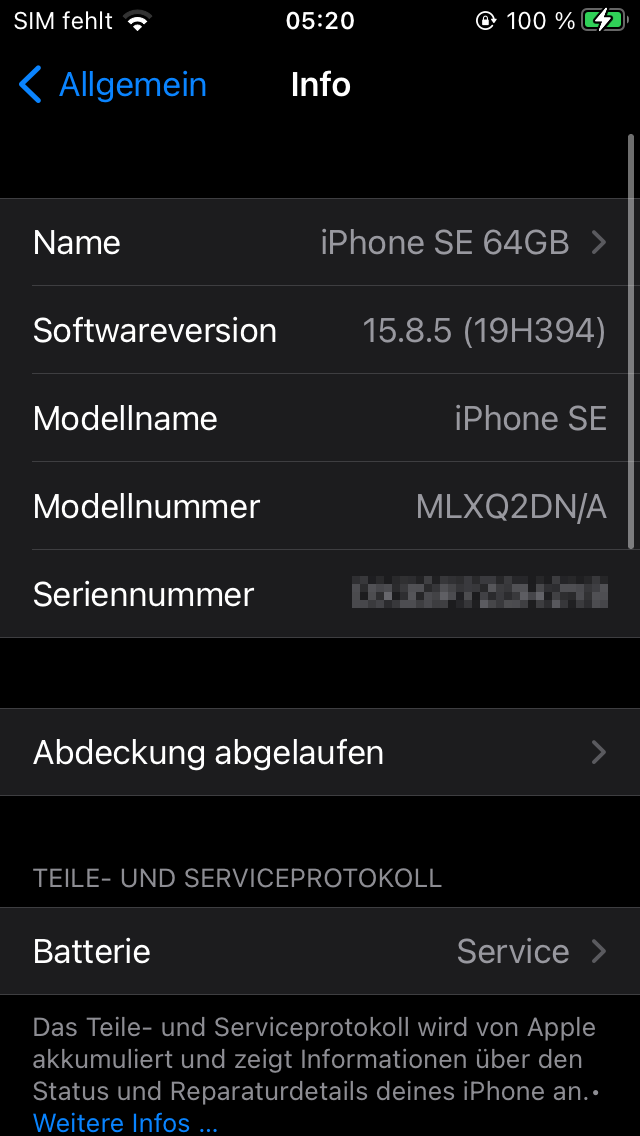
To illustrate the process, I used a first-generation iPhone SE with 64 GB of storage capacity running iOS 15.8.5 (19H394). Everything was performed on Windows 11 Professional using the following software:
- mp3DirectCut (v2.39)
- Fre:ac (v1.1.7)
- iTunes (Standalone v12.13.9)
The maximum length of the finished ringtone is defined:
Apple limits this to approximately 30 seconds.
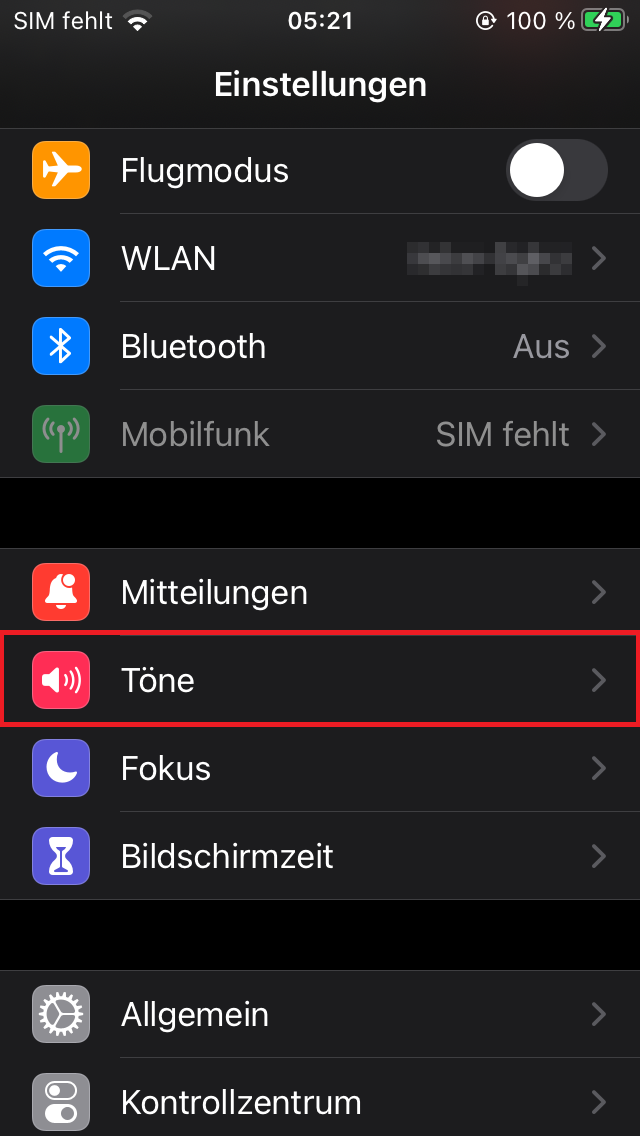
That’s why I use mp3DirectCut to cut out the desired section from an audio track. Here’s how to access the sound settings in iOS or iPadOS, starting in the “Settings” app:

The base
I assume that the basis for the subsequent ringtone is an MP3 file of the highest possible quality (320 kbps). If you want to use the audio track of a YouTube video, you can easily convert it to an MP3 file using one of the many online converters available.
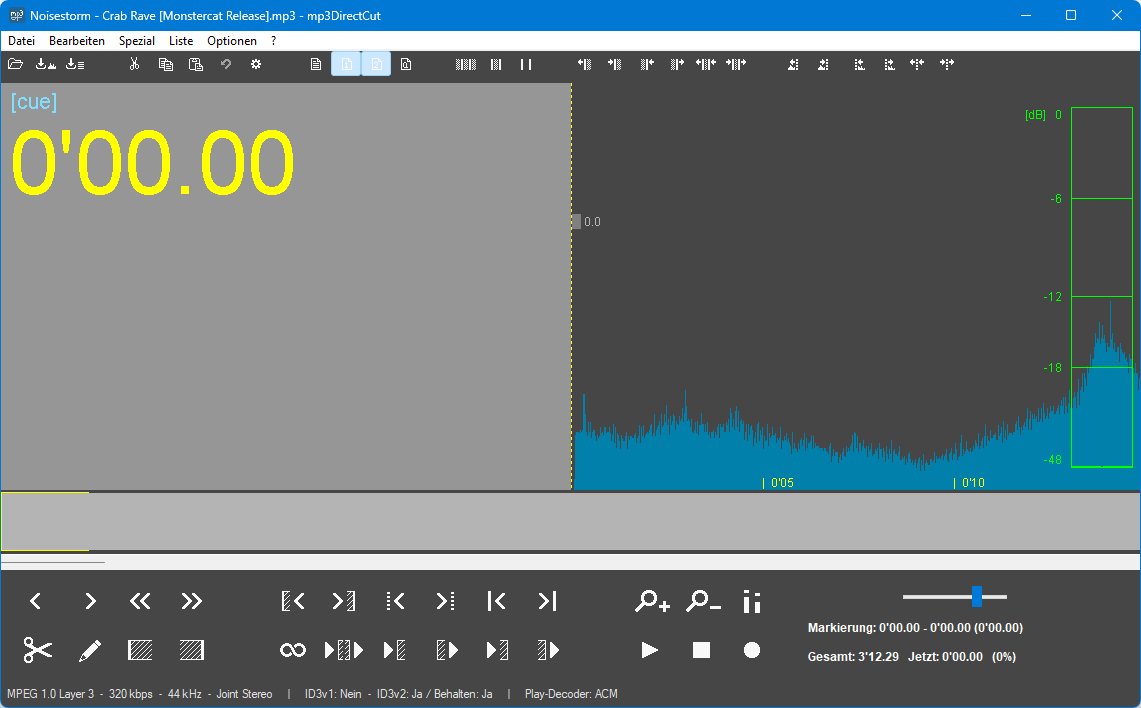
I am using the MP3 audio track from this music video that has been converted and downloaded in exactly this way. You should now have a file called “Noisestorm – Crab Rave [Monstercat Release].mp3” saved on your computer:
![Noisestorm - Crab Rave [Monstercat Release].mp3](https://blog.florianehrle.de/wp-content/uploads/2025/06/mp3-e.png)
Editing
To do this, download mp3DirectCut from the link above and install it (from Windows Vista with active UAC onwards, the setup must be run manually as an administrator if you want to install it in the default location!).
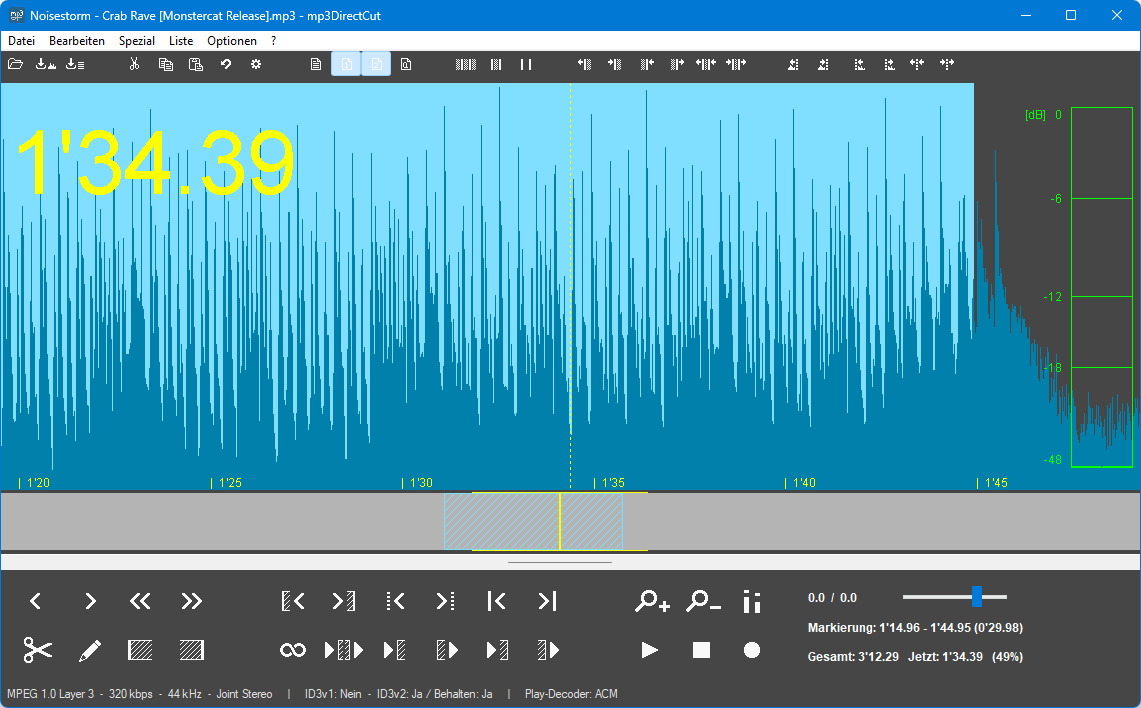
Then start the program and, after clicking “OK” to dismiss the version information, you will be greeted by the main screen. Next, load your MP3 file into the software and select a section by holding down the left mouse button. You can navigate through the file using the mouse wheel and/or the horizontal scroll bar at the bottom. In the lower area, you can play, pause, etc. the track. On the right, you can see the playing time of the selected section, which is very useful for staying just under 30 seconds.
Then export the selected section via the main menu, again as an MP3. Here are the steps:

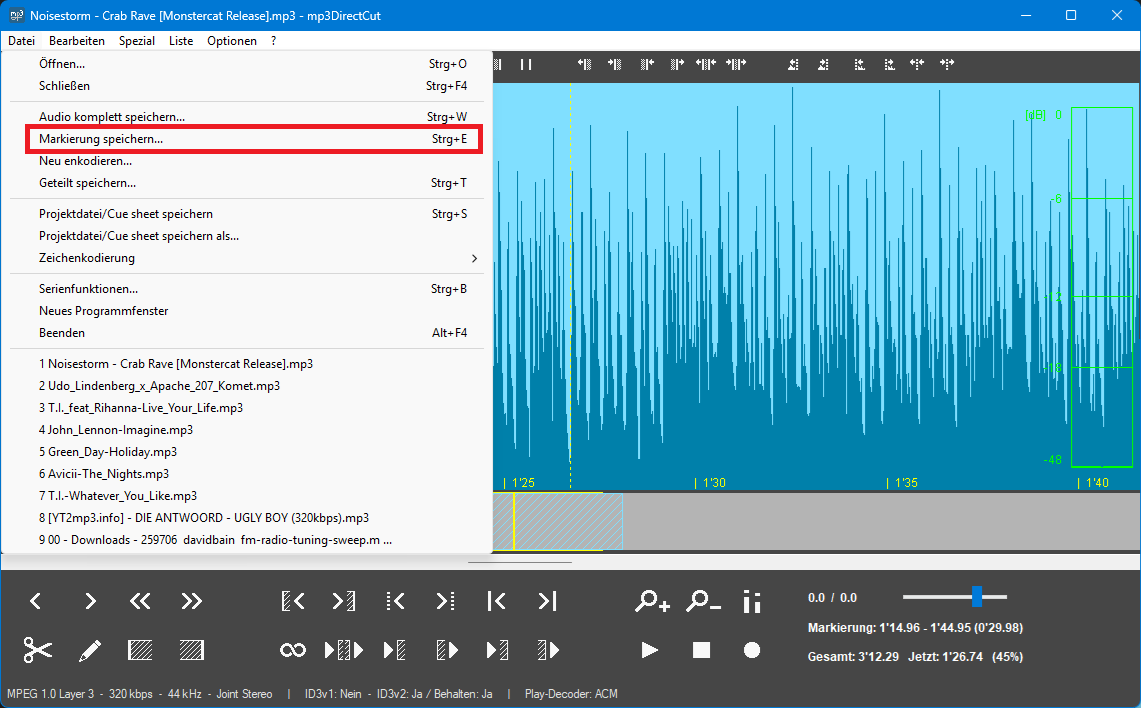
I named the exported file “Noisestorm – Crab Rave [Monstercat Release]_30s.mp3”:
![Noisestorm - Crab Rave [Monstercat Release]_30s.mp3](https://blog.florianehrle.de/wp-content/uploads/2025/06/mp3-30s-e.png)
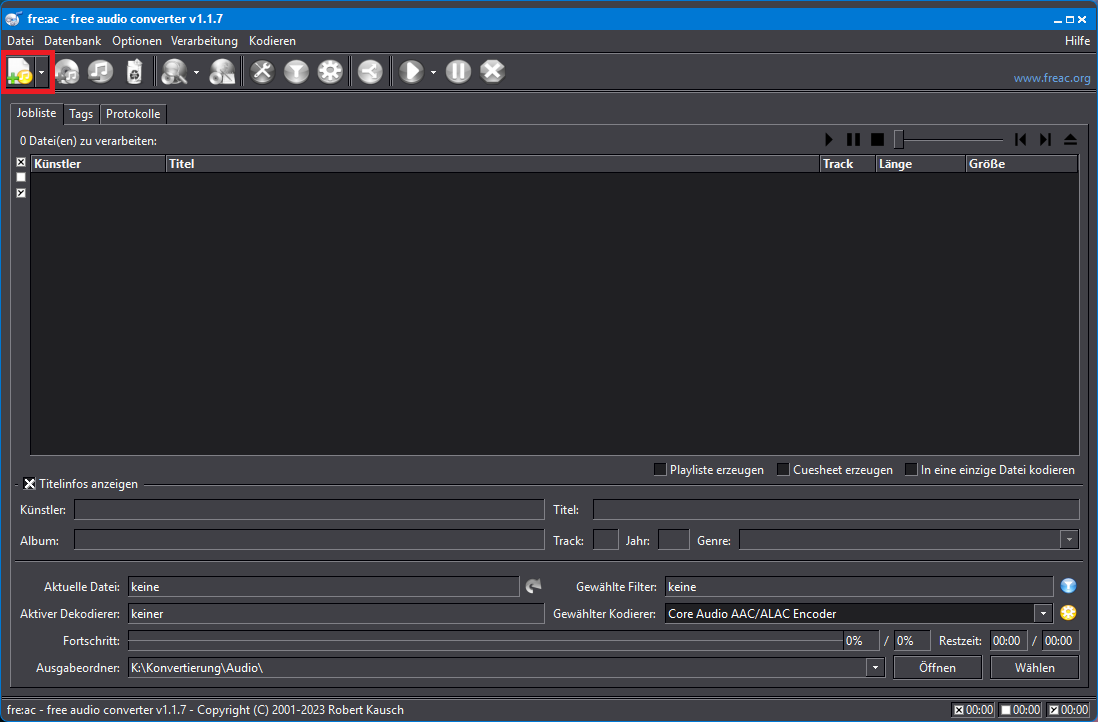
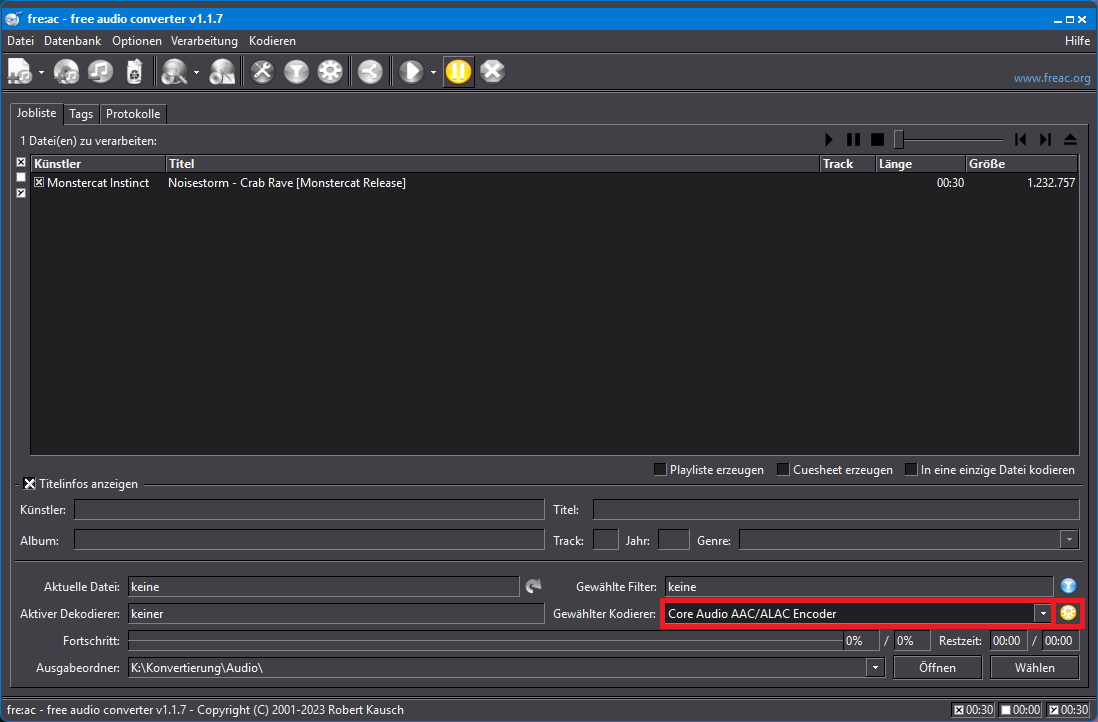
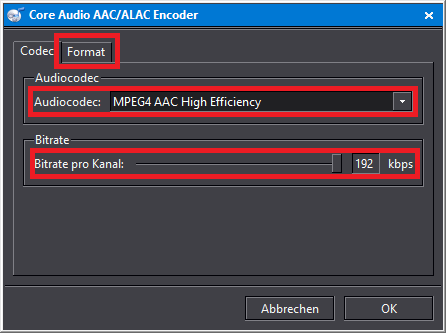
Converting
The ringtones must be encoded in the M4A codec, and the file extension for an iPhone ringtone is “M4R”. Fre:ac is a good option for converting the MP3 file to the correct format:
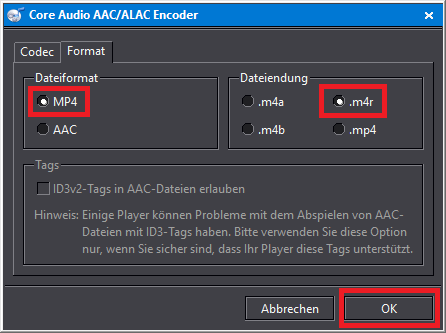
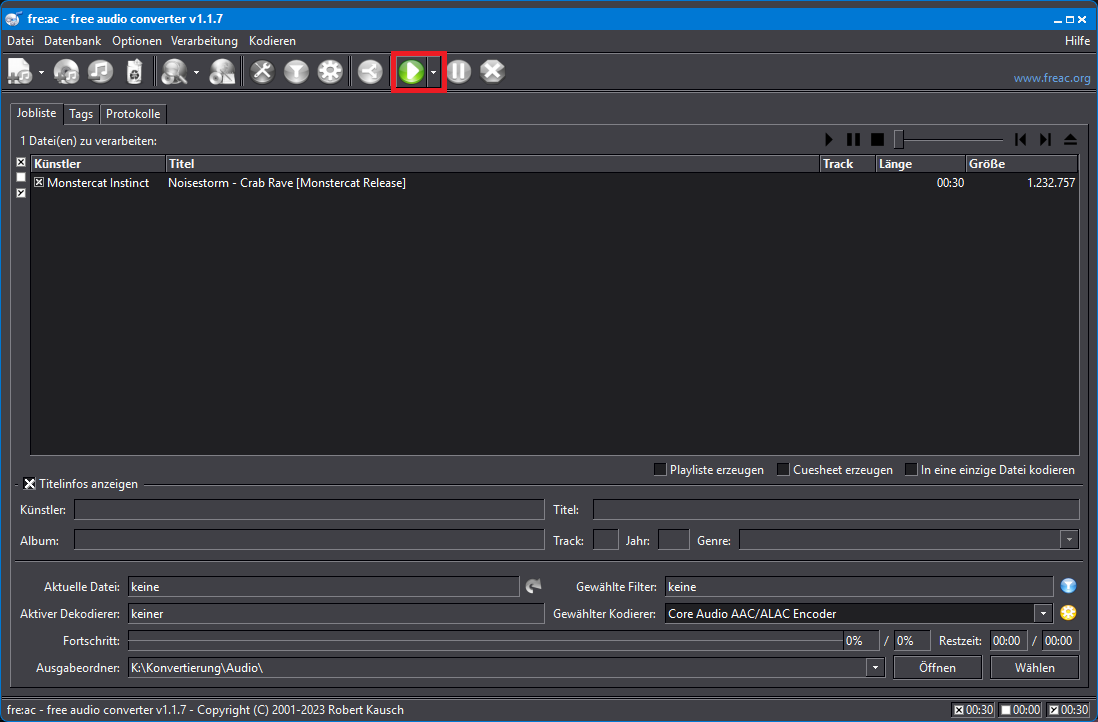
The result was then named “Noisestorm – Crab Rave [Monstercat Release]_30s.m4r”. iOS and iPadOS can now handle this and you can sync the file to your device. You can also customize the file name as you wish.
![Noisestorm - Crab Rave [Monstercat Release]_30s.m4r](https://blog.florianehrle.de/wp-content/uploads/2025/06/m4r-30s-e.png)
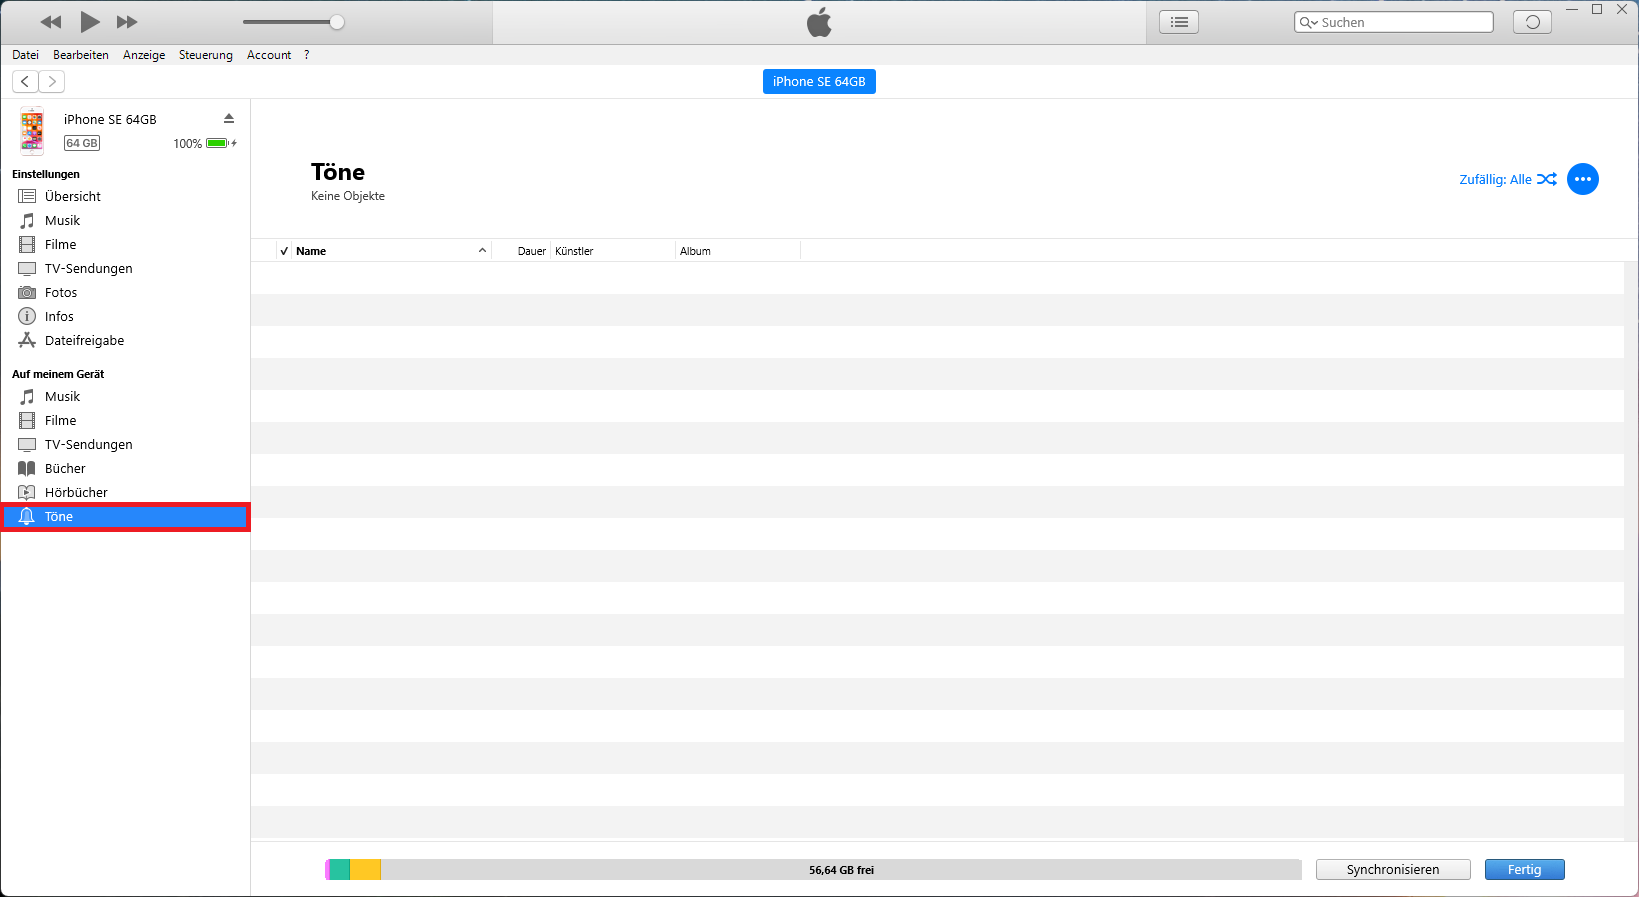
Transfer the ringtone
To do this, use iTunes, preferably the latest standalone version, not the one from the Microsoft Store. To find this version, go to the Apple website and click on “Looking for other versions?” and then “Windows”.
Once iTunes is installed and your iPhone or iPad connected to your computer via USB and is trusted, you can simply transfer the file to your device:

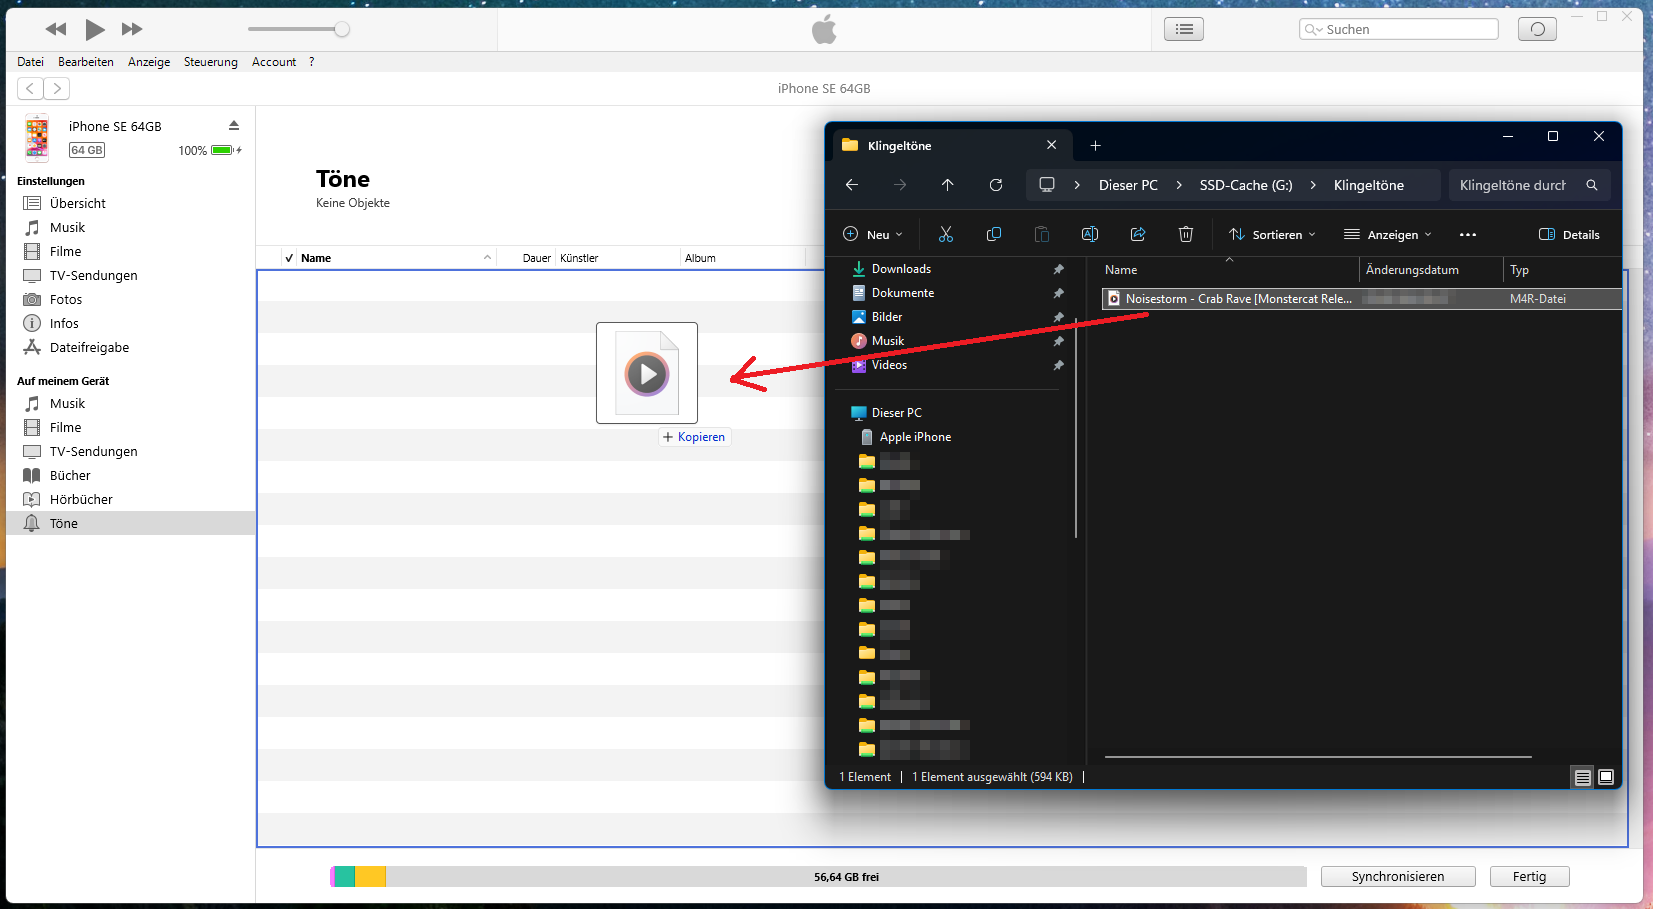


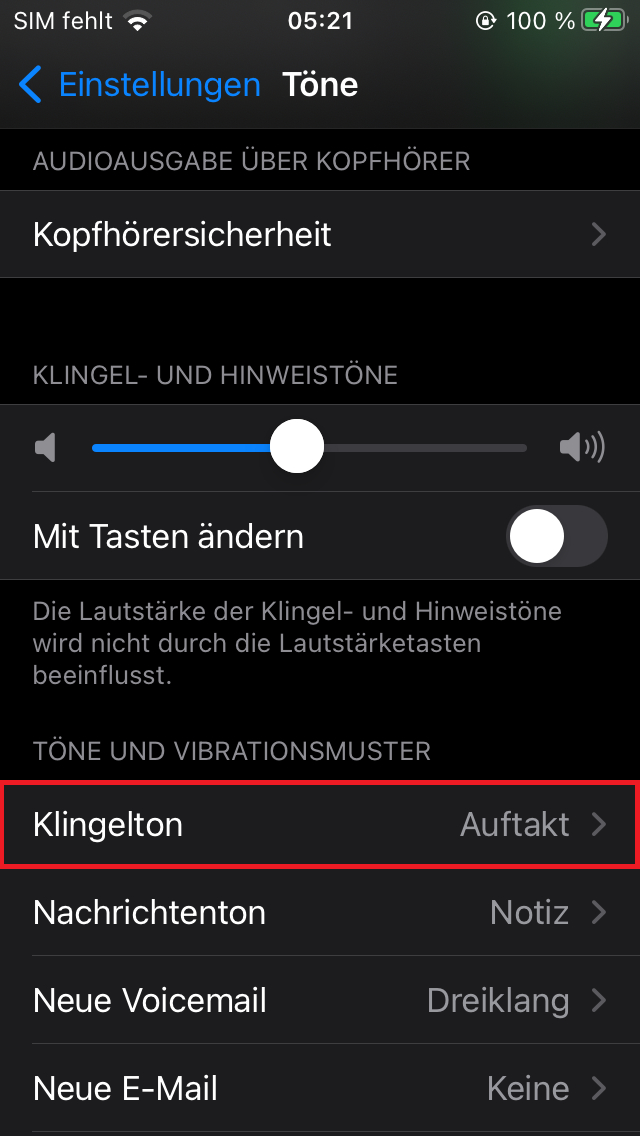
After the changes have been applied by clicking “Synchronize”, you can see the new tone in the ringtone selection menu shown above on the device and use it by tapping on it:

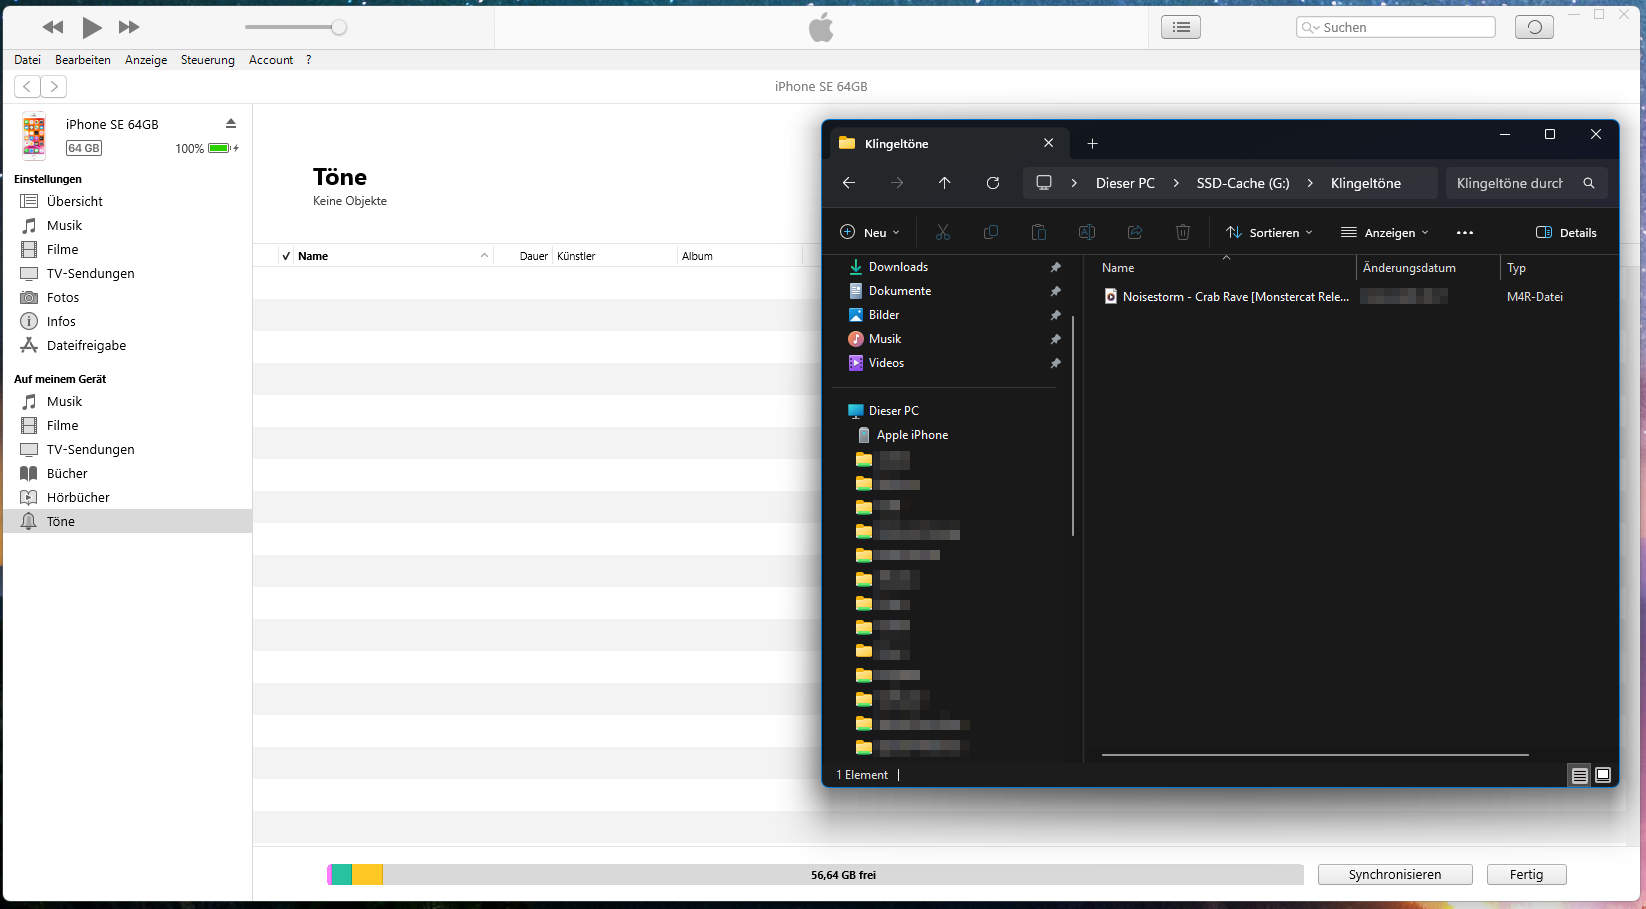
Addendum April 2026:
Today I came across a case where drag-and-drop into the iTunes “Sounds” window simply wouldn’t work. The solution is as simple as it is counterintuitive at first:
Simply copy the M4R file in File Explorer, either via the context menu or with CTRL + C, then bring the iTunes window into focus and paste it there with CTRL + V. It works exactly like drag-and-drop! It’s hard to say why it wouldn’t work as described. The PC was an 8th-gen i7 with sufficient RAM and storage, running Windows 11 Professional. The iPhone was a 14 Plus with 128 GB of storage, with plenty of free space, running the latest iOS version (v24.4).