In the house we are currently renovating, there is a room that was formerly used as a “tractor garage” – for which there will be no use in its current form in the future.
The floor is in really poor condition; it consists of dirty (sand) stone slabs on earth, without proper foundations, etc., and it is also uneven.
In addition, during the renovations of the house in recent decades, no particular attention was paid to ensuring that the brick walls were aligned with the existing wall remains in the floor, with the result that the walls stand on much thicker “feet.”
The preliminary work is therefore to bring the walls into an almost straight shape over their entire height, which I did with a diamond roughing disc on a 125 mm standard angle grinder, in several attempts. Dry grinding creates a lot of dust and roughing mineral building materials is very strenuous.
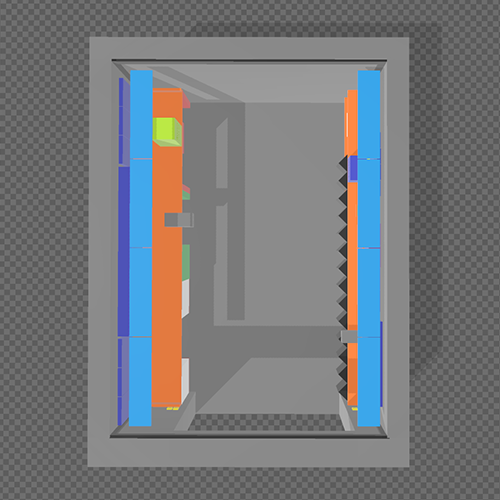
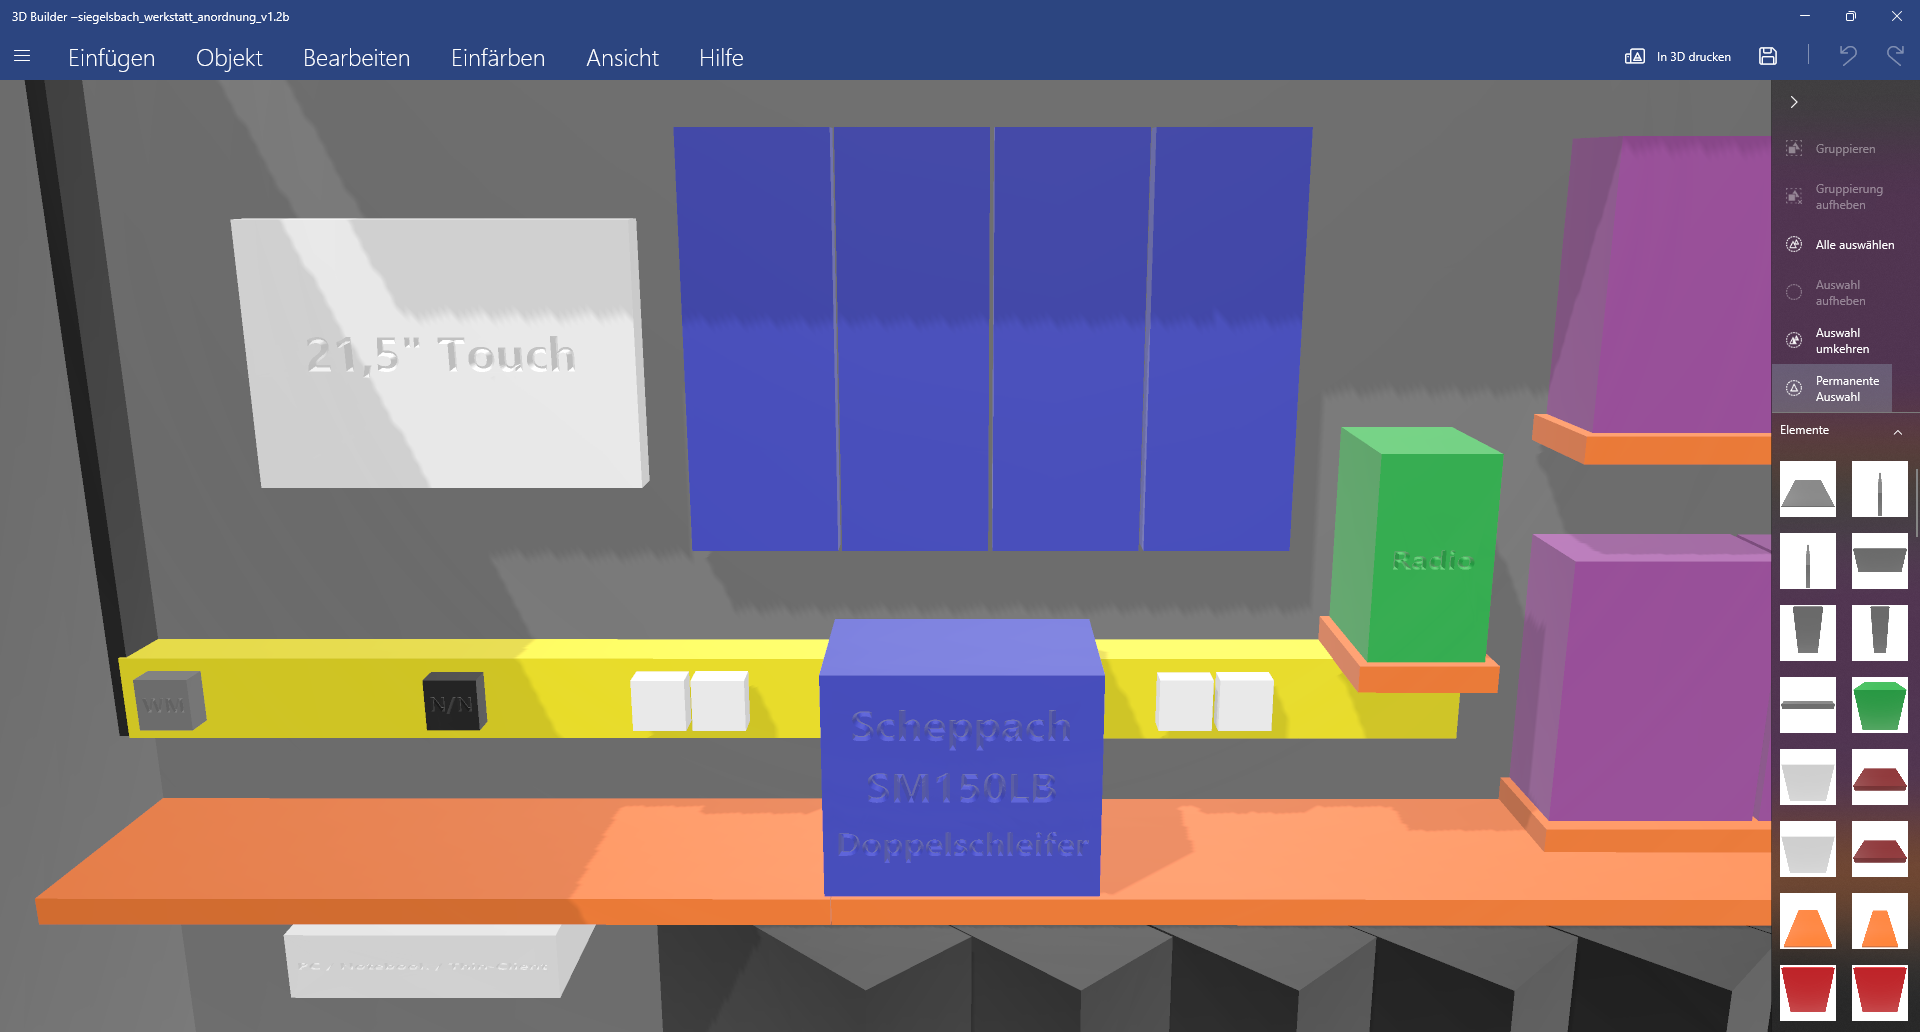
Once that was done, I quickly put together a rough layout in Microsoft’s 3D Builder. More professional CAD software would have been better, but this rough version is sufficient to get a better idea of the whole thing. This is what came out of it:
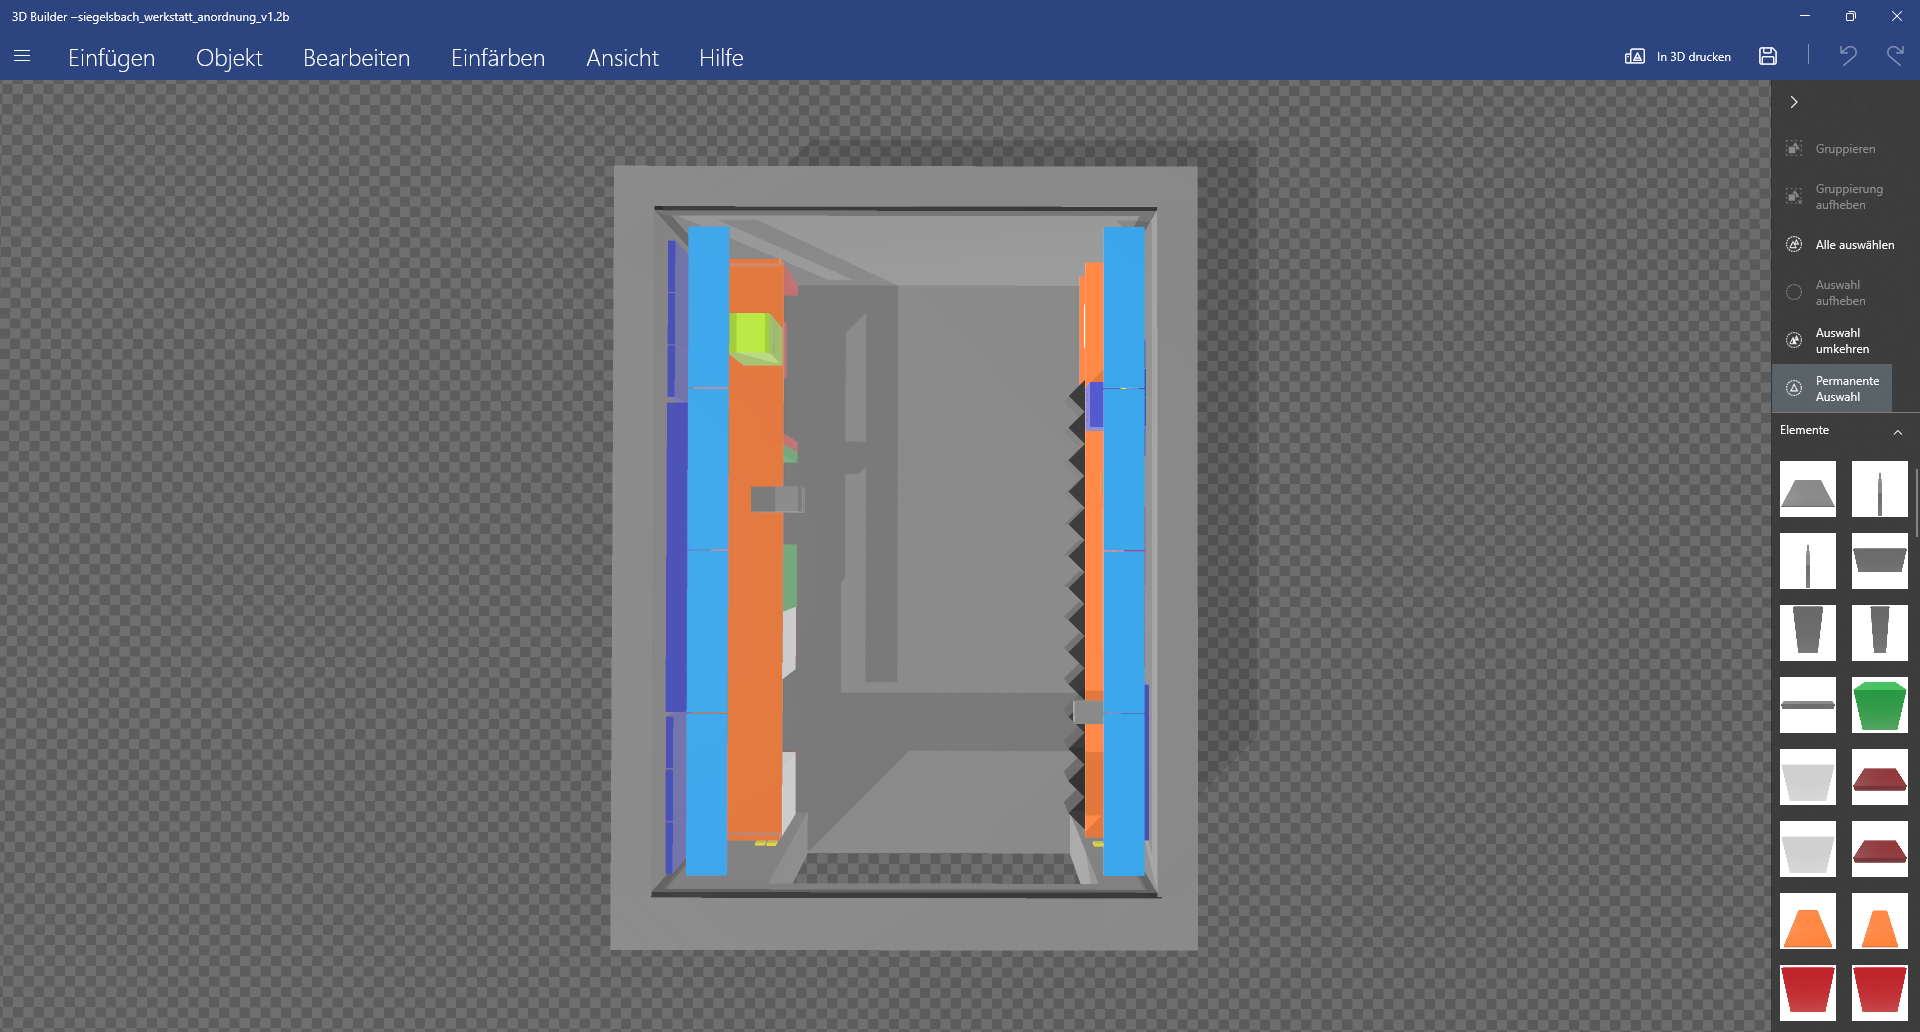
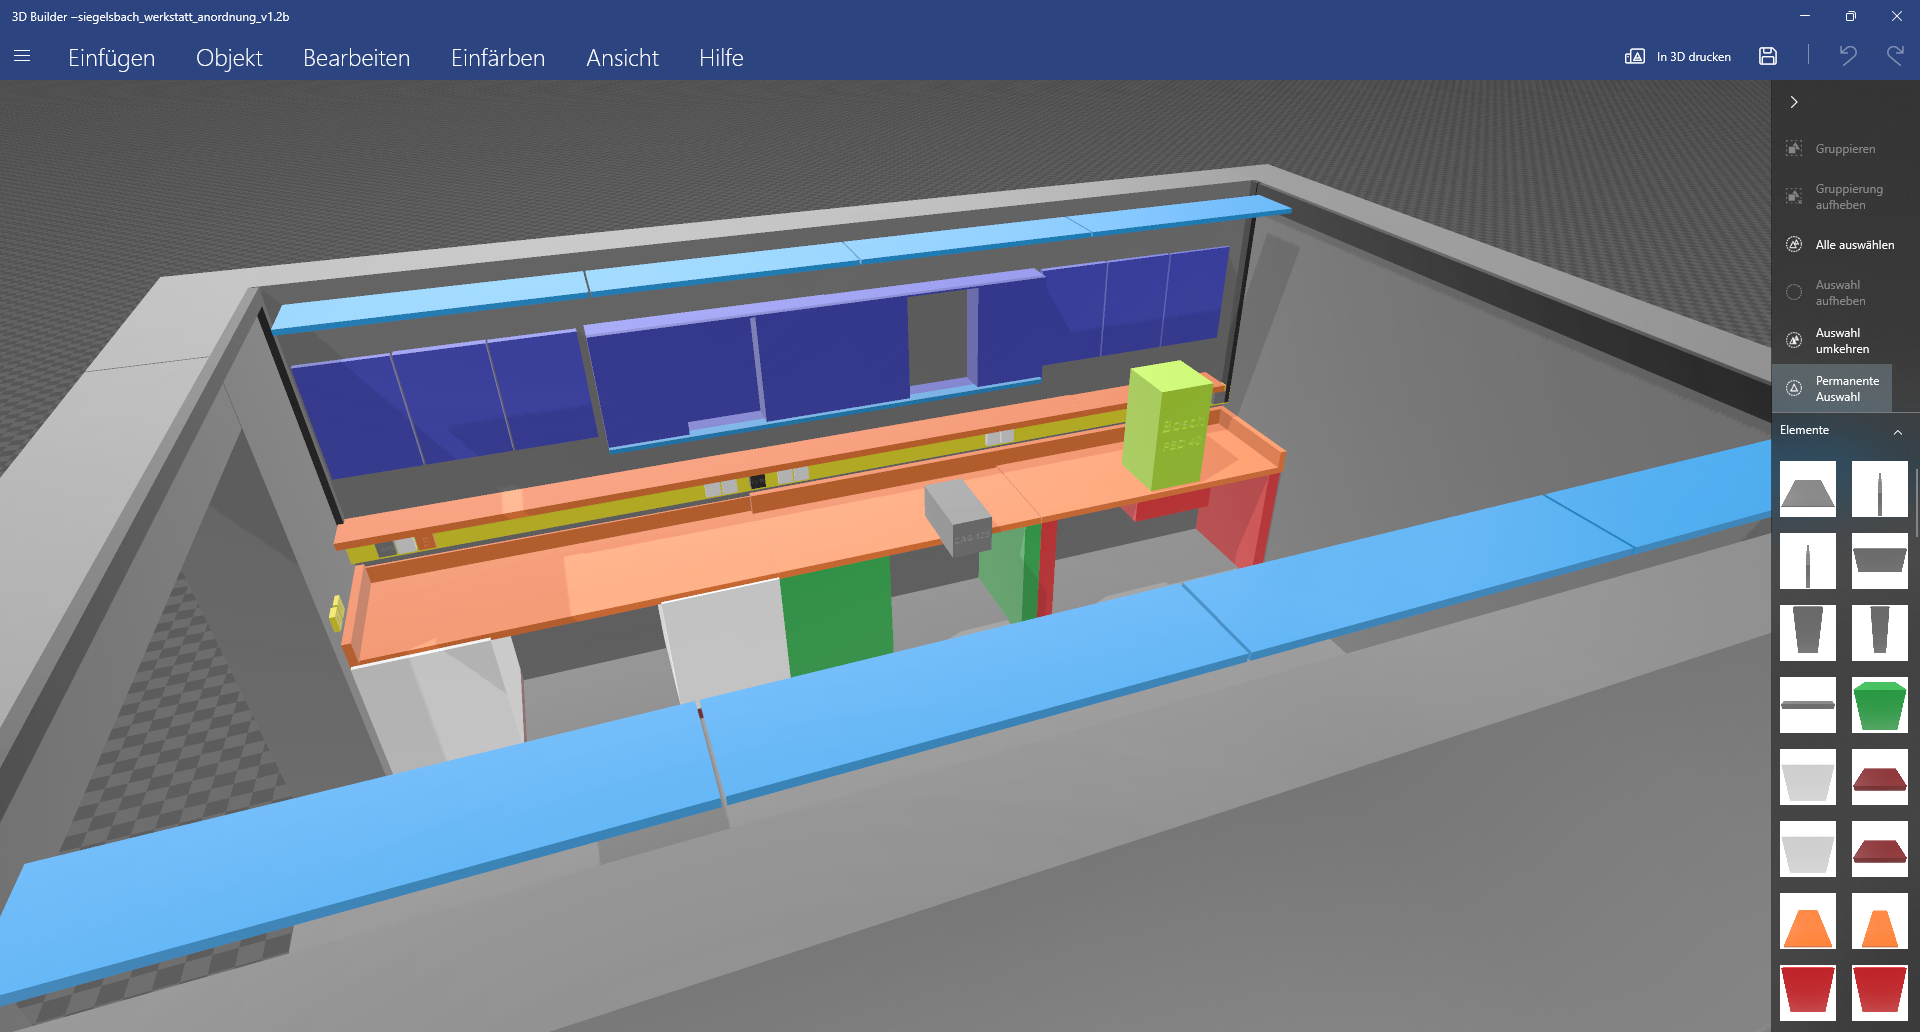
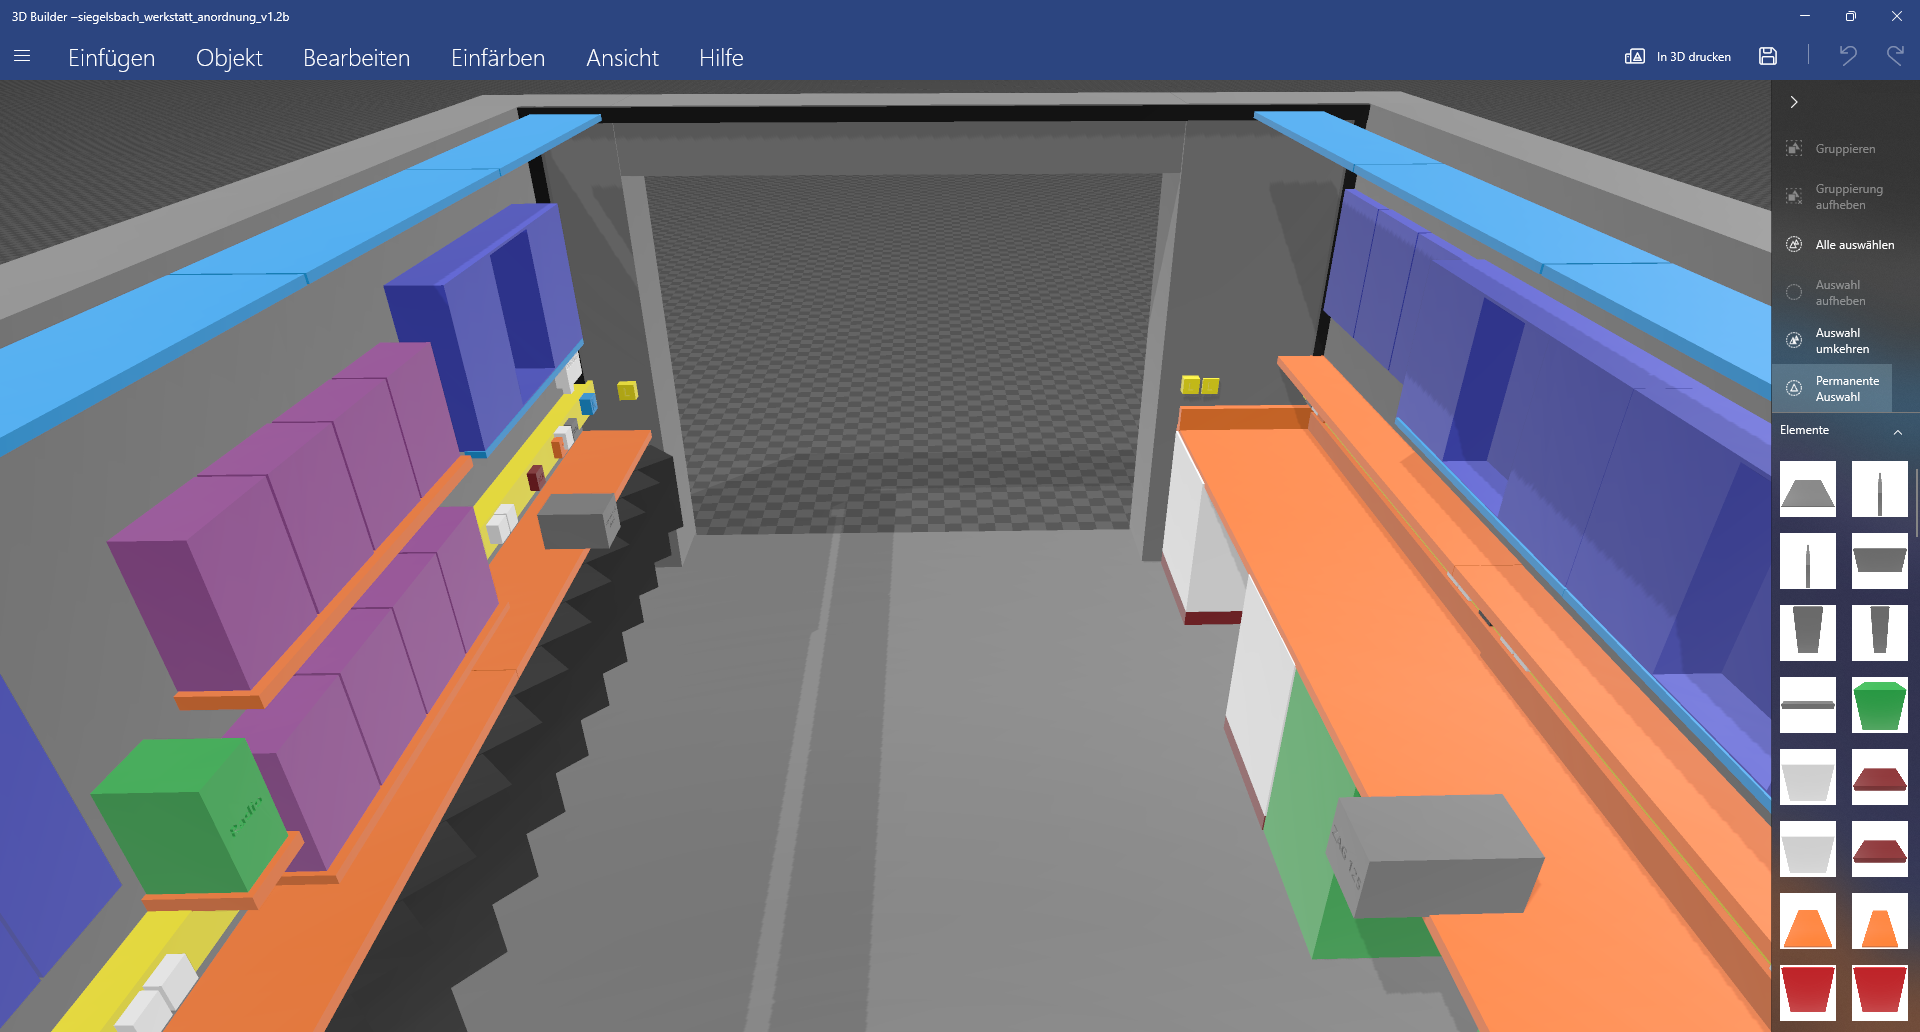
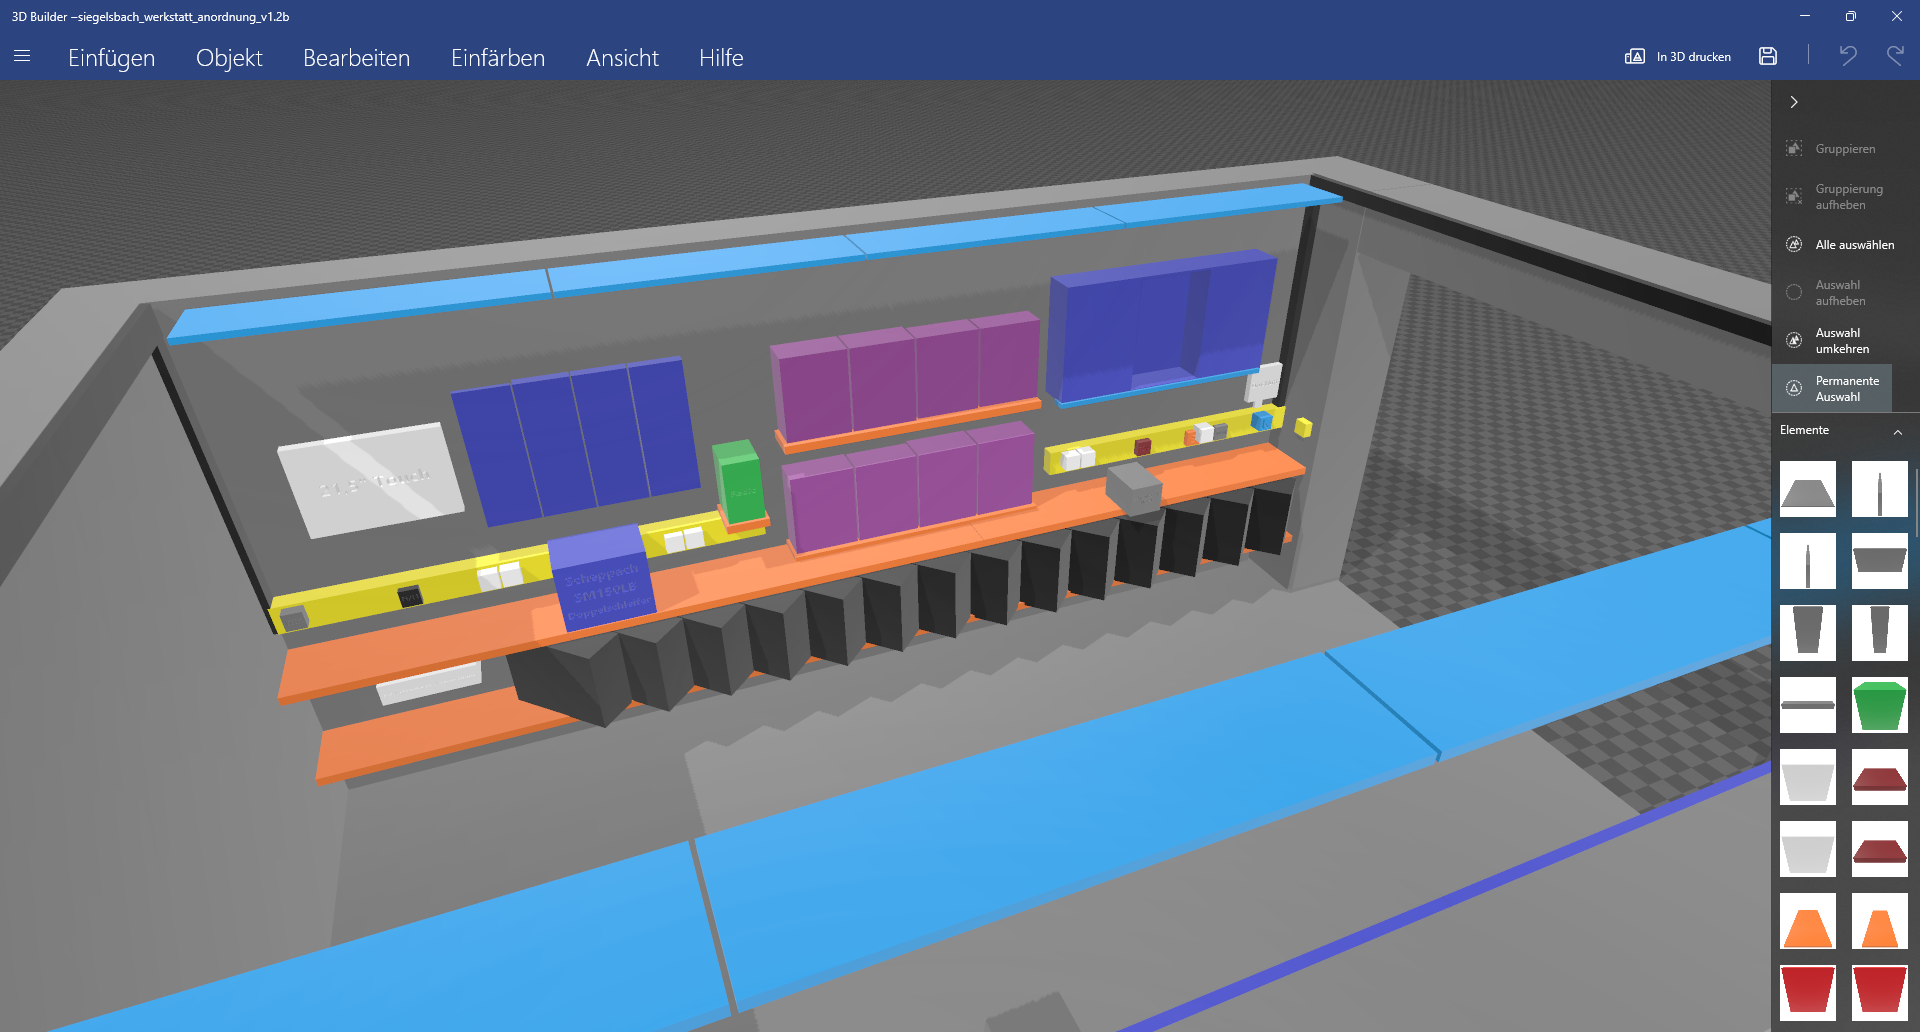
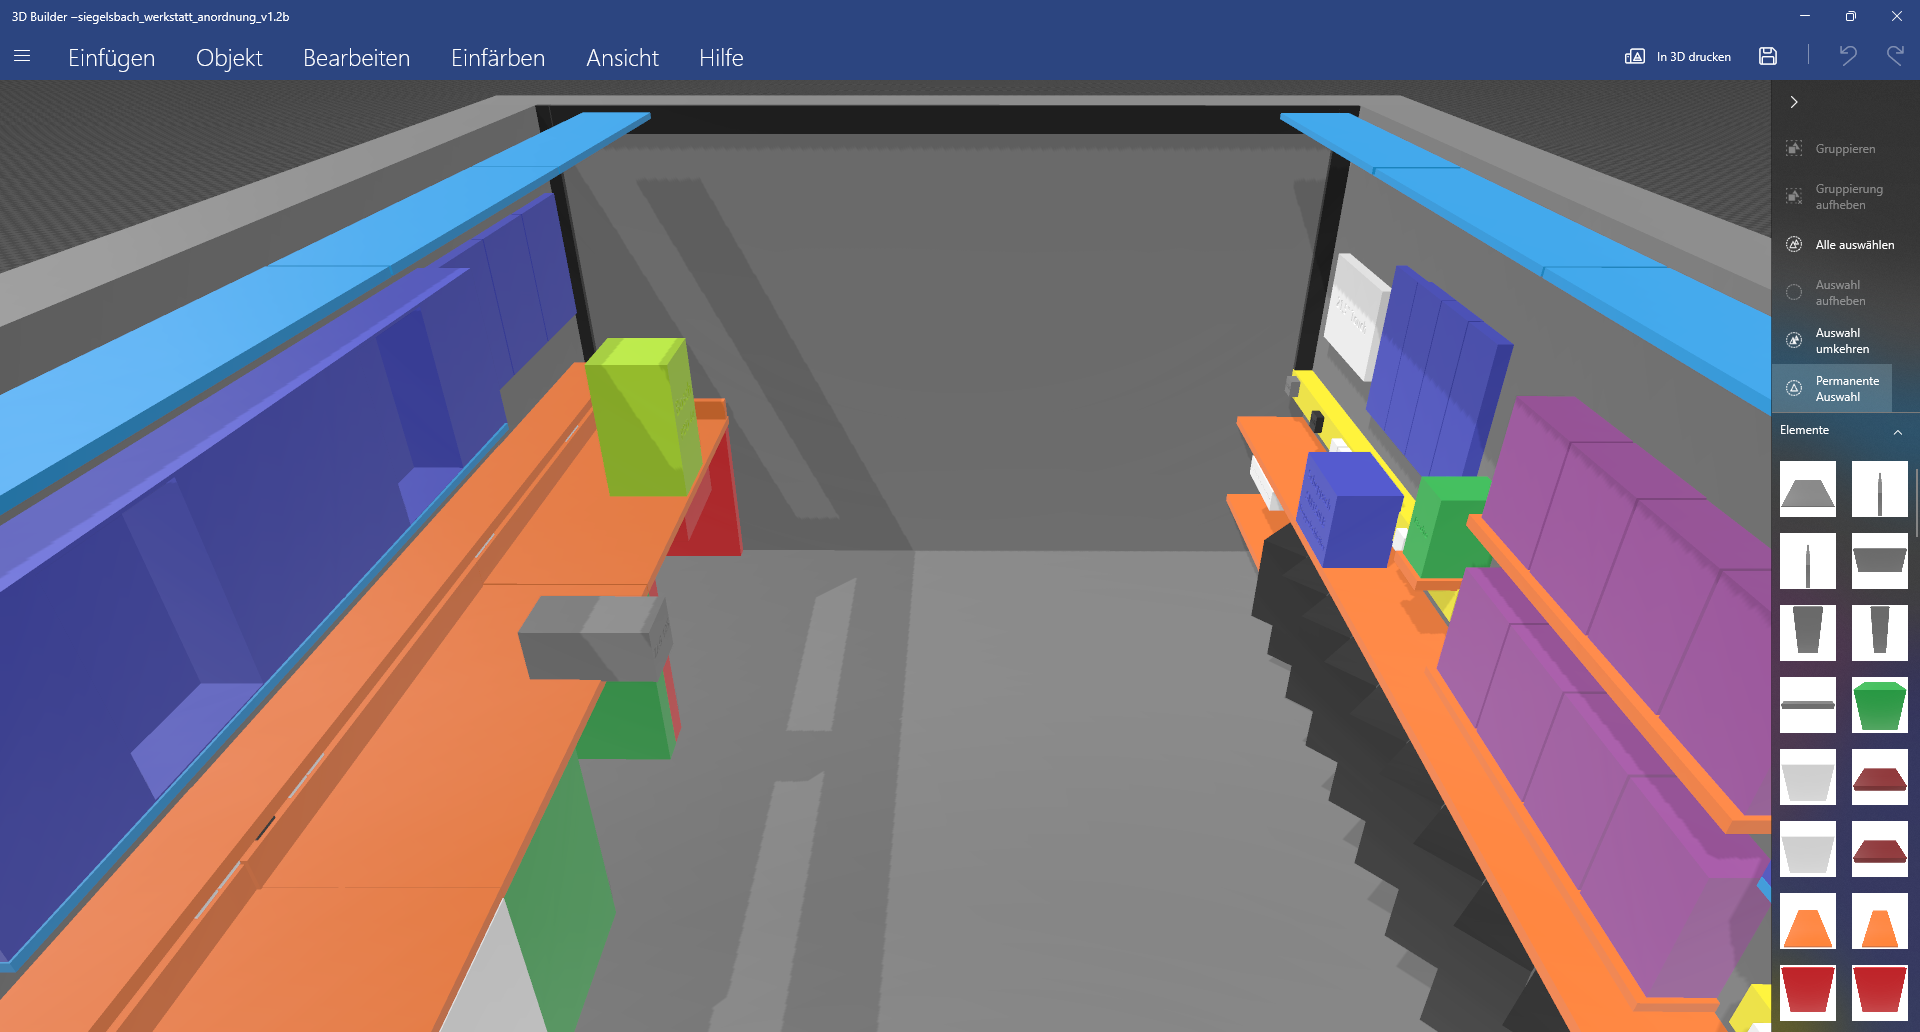
The black blocks are intended to represent toolboxes, but in reality, they were arranged on top of each other rather than side by side in order to make maximum use of the space.
Build
With this rough idea in mind, we then started building. First, the parapet and cable ducts* were aligned and installed, then the lighting structure, and finally the table structures. A multimedia channel* for the planned touch screen was installed flush with the wall and provided with openings. A cross-line laser* was used for everything and proved very helpful—after all, many elements had to be arranged in a U-shape, which was an ideal application for it.
In the end, everything was dismantled again, imperfections were filled in, and the room was thoroughly cleaned. Then it was painted white several times. Next, as the most cost-effective compromise, industrial-grade PVC was glued in one piece to the slightly smoothed floor. This was turned up at the edges of the room in the form of a kind of “baseboard” and secured with aluminum profiles.
Then everything was put back in piece by piece – first the ducts, then the tables, the shelves, and finally the tool walls.
Of course, this was a very detailed and lengthy process. In total, the whole thing took several months (not full-time, of course), and two people worked on the construction.
Current status?
In the end, some things were implemented slightly differently than shown in the CAD above. For example, there are now three LED panels per side instead of four. The back wall is far from unused: it holds an old 40″ Samsung TV, a convection radiator from Kermi, and storage space for quick-release clamps.
The PC, indicated as a white block, was moved to a specially built compartment and shares it with a black Nintendo Wii, including a power supply and external hard drive.
In the main work area, a base cabinet was removed and replaced with a beverage refrigerator that even has its own switch in the parapet channel, complete with a blue status LED. Worktop lighting* with an aluminum profile anti-glare shield has also been installed.
I don’t have any photos of the final result at the moment—I would take some, but as is always the case, the room is currently being used primarily for storage; all the building materials have to go somewhere. I will submit detailed photos when the workshop is presentable.