The next step is to reconfigure the RAM on all other affected devices so that the desired configuration can be implemented.
Important side note:
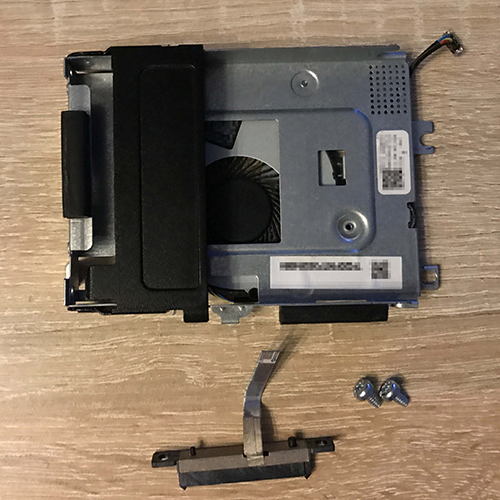
With the 10 GbE module installed, the SATA caddy fits “just barely” as it hooks onto the side of the case and the CPU cooler and is slid in to secure it. It is then secured to the mini-PC with two screws. Inside the caddy, the SATA port is held in place by two Torx screws, and the space is so tight that you have to remove the right one of the two (behind the 10 GbE module) to get everything slid in without causing any damage. After installation, you can reattach the screw that was removed.
Since the hardware is now running as expected, it’s time to tackle the software side. There isn’t really much to say about this. Install Proxmox VE via Rufus onto a GPT- or UEFI-bootable USB drive, and you’re good to go. After installation, re-enable UEFI Secure Boot.
Migrating the many VMs will take a few hours, since the backups are stored on rather slow hard drives connected to a very underpowered PC.