After many years, Nvidia graphics cards from the Pascal era are still serving us well in our “main PCs.” This is partly because their performance has not been so poor that replacement would have been unavoidable, and partly because Nvidia graphics cards have since become extremely expensive, large, and power-hungry.
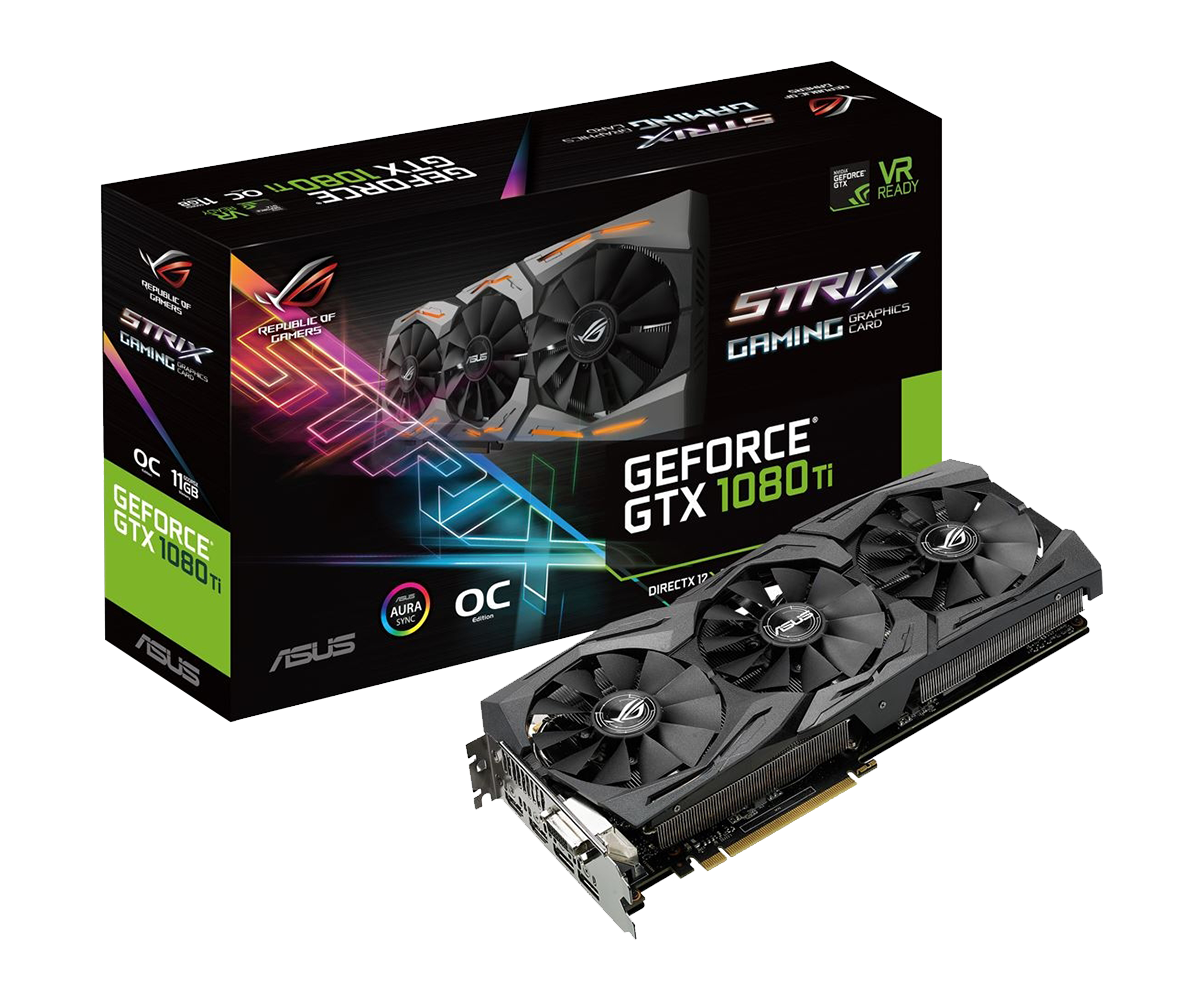
My (Floh PC) has an “ASUS ROG Strix GeForce GTX 1080 Ti 11 GB OC” installed.
Tamy (Tamy PC) runs the smaller sister model “ASUS ROG Strix GeForce GTX 1080 8 GB Advanced” .
The exact model numbers from ASUS are “ROG-STRIX-GTX1080TI-O11G-GAMING” and “ROG-STRIX-GTX1080-A8G-GAMING” – tests of the cards can be found here for the 1080 Ti OC and here for the 1080 Advanced.
 ⧉ ASUS
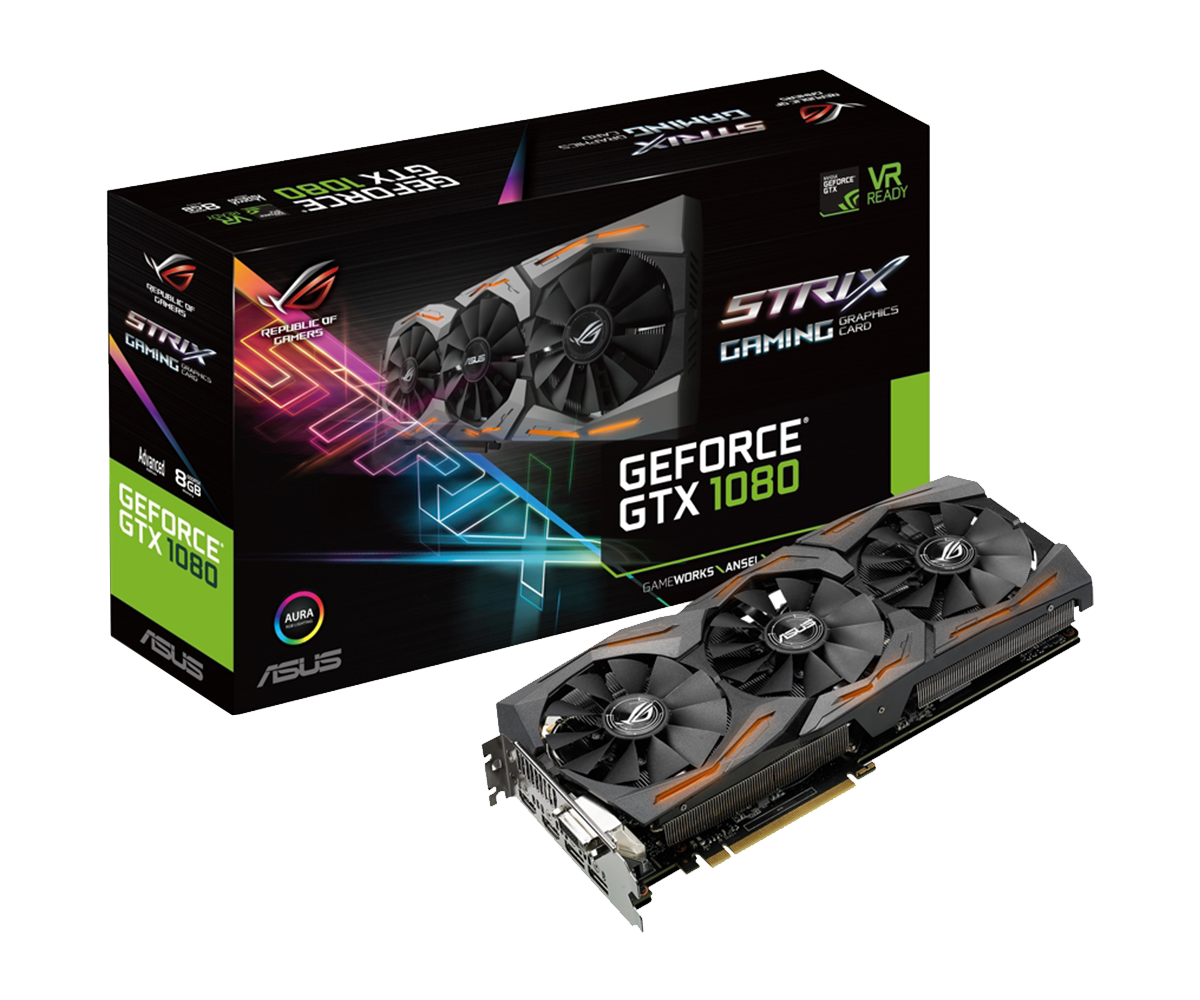 ⧉ ASUS
Both cards only activate the fans at around 55°C (0 dB mode) and from there on, the speed is increased in parallel with the rising temperature, which is generally a very good feature – it protects the fans and your hearing, and also means that less dust gets into the cooler.
In addition, both cards run with MSI Afterburner, but “only” with the power and temperature limits increased to the maximum so that they can be boosted more “freely.”
I had been wanting to try to improve the cooling for a long time, especially for the 1080 Ti.
Not because it gets too hot, but because the fan noise bothered me more and more, even at medium load. I would say that efficient cooling is always a good thing.
The thermal paste has been changed several times over the years, using Arctic MX-4*.
In general, new thermal paste is always a good idea, especially if it has never been replaced.
It did its job well, but I was interested to see whether liquid metal* would significantly improve the cooling efficiency.
Requirements:
Since I had familiarized myself with the topic of liquid metal (delidding an i7-7700K), I knew what to look out for – for example, the contact surface between the die and the cooler should ideally not be pure copper, but nickel-plated – to prevent the liquid metal from “sinking in” over time.
This absorption is not an unavoidable problem; you simply have to repeat the application process at increasingly longer intervals until the cooling performance remains constant. The indium in the liquid metal simply reacts with the copper, and at some point the surface has reacted so thoroughly that nothing more is absorbed.
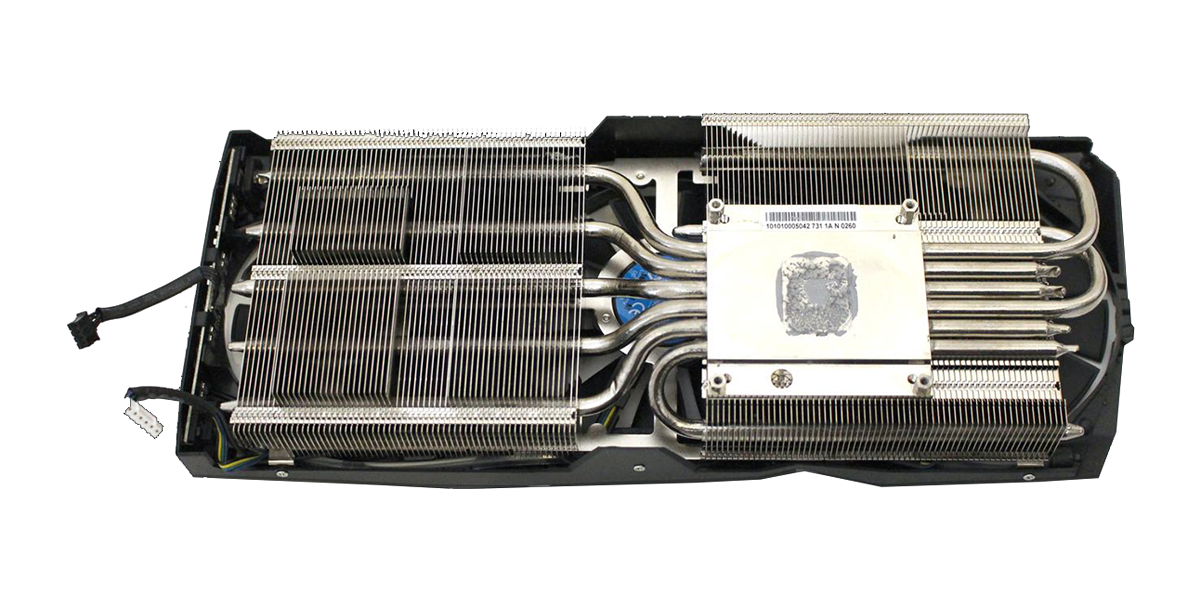
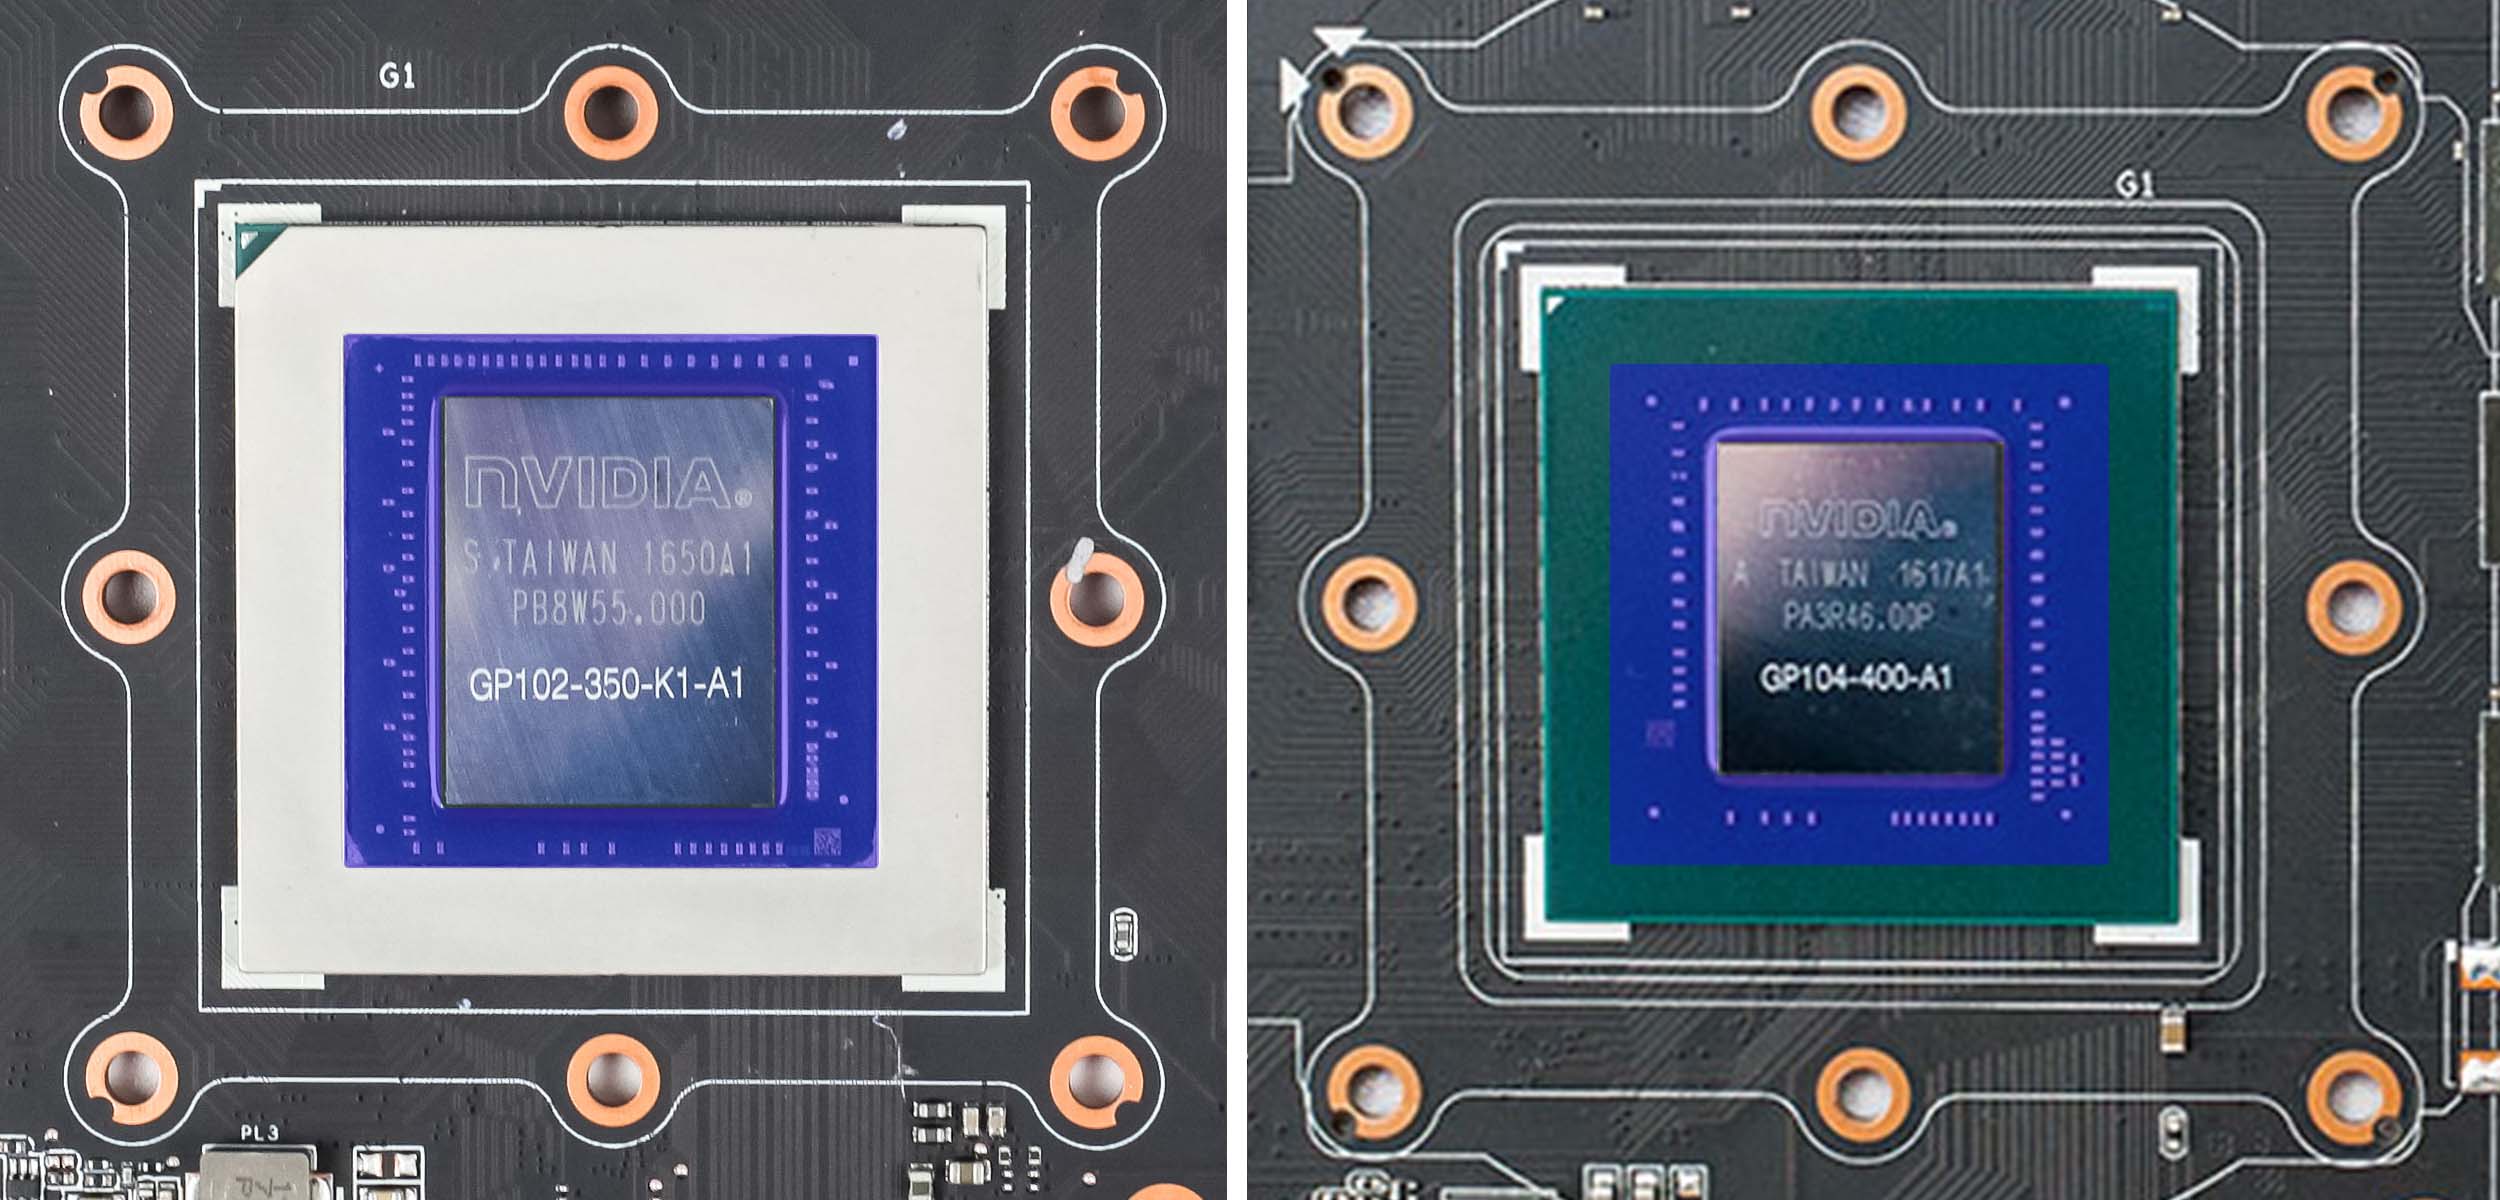
After a little research, it became clear that the cooler of the 1080 Ti is nickel-plated and thus provides optimal conditions for liquid metal. In the 1080, the heat pipes appear to make direct contact with the die and also appear to be nickel-plated, but in the contact area they are “smoothly ground,” which partially reveals the copper again—not ideal.
 ⧉ Hardwareluxx
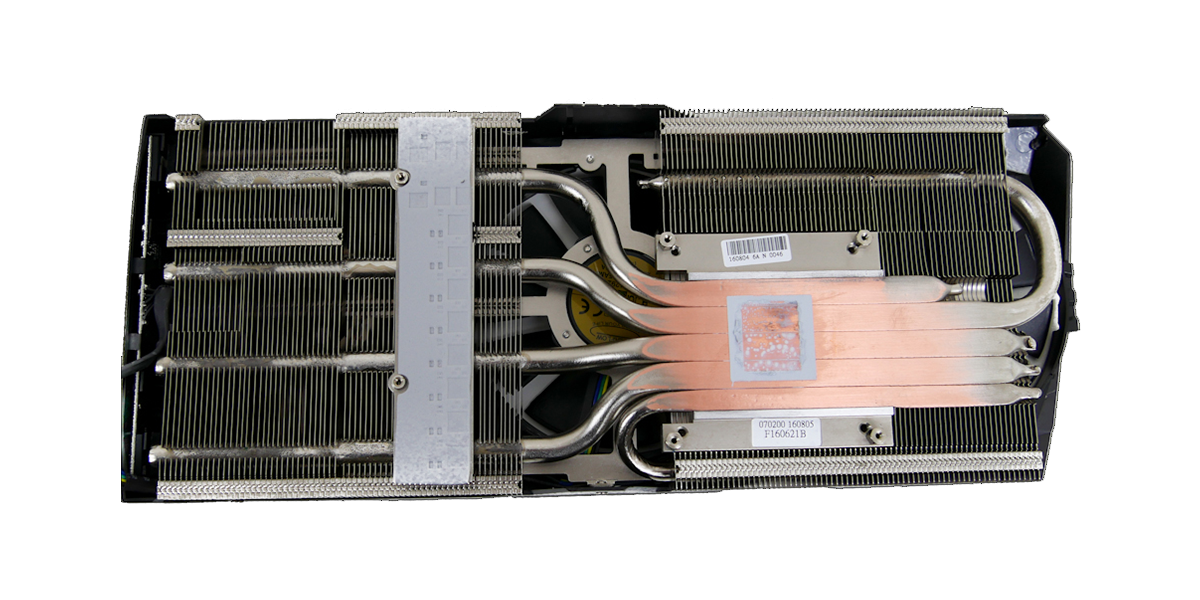 ⧉ Kitguru
Liquid metal is quite expensive compared to thermal paste, so I was initially skeptical about whether it would be worth it. As with the delidding project before, I opted for the market leader, as I still had some left over:
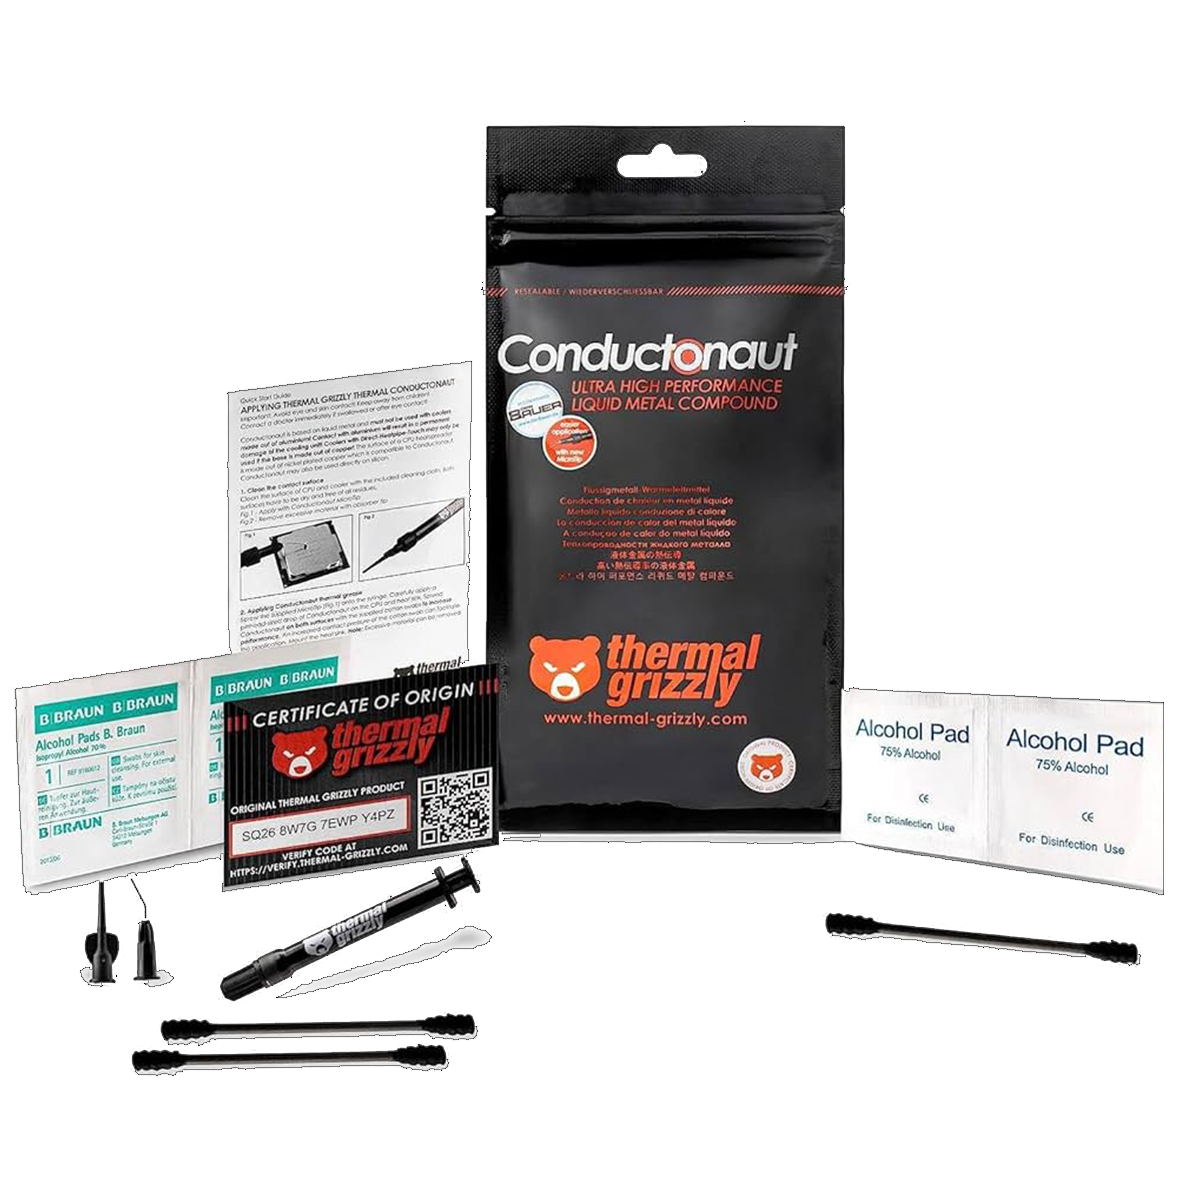 ⧉ Thermal Grizzly
Now it’s being dismantled…
You can easily find instructions on how to disassemble these card models on the Internet.
Here is a good video tutorial that can be used for both models:
The connectors for the fans are very fragile, so be very careful.
Once everything has been dismantled, it is of course advisable to thoroughly dust the components.
The cooler, the GPU die, and the surrounding area must be thoroughly cleaned with isopropanol*.
Now it’s time to prepare:
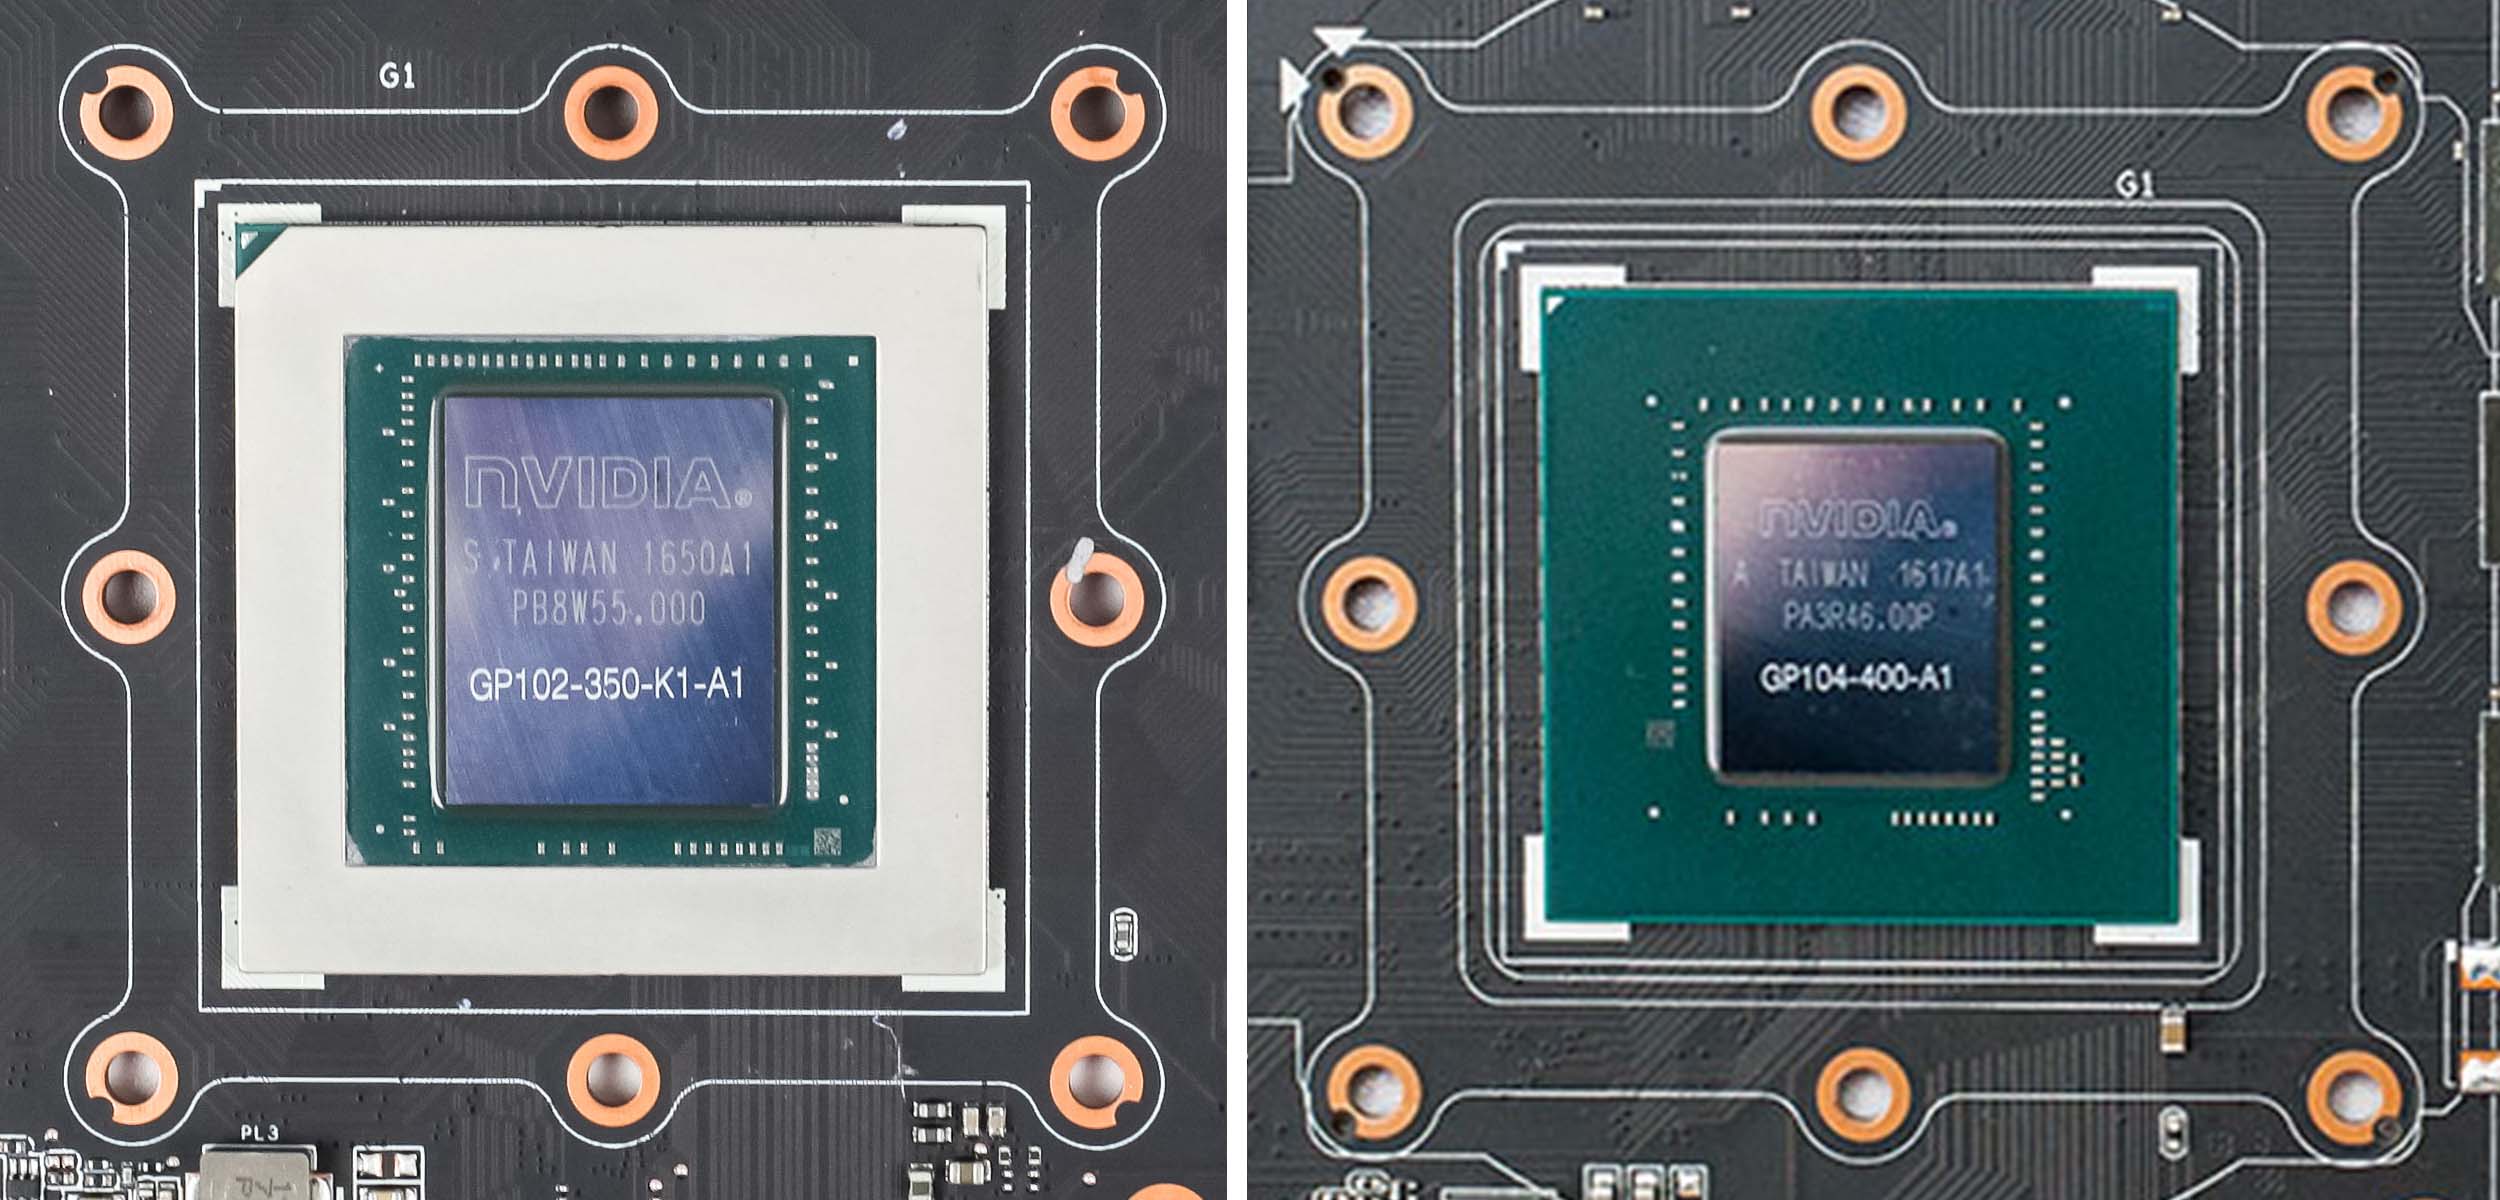
First, you need to make sure that no short circuits can occur later, as liquid metal is electrically conductive. This is easiest and most attractive to do with the 1080 Ti, as the die sits on a circuit board carrier reinforced with a metal frame. The 1080 lacks this metal reinforcement:
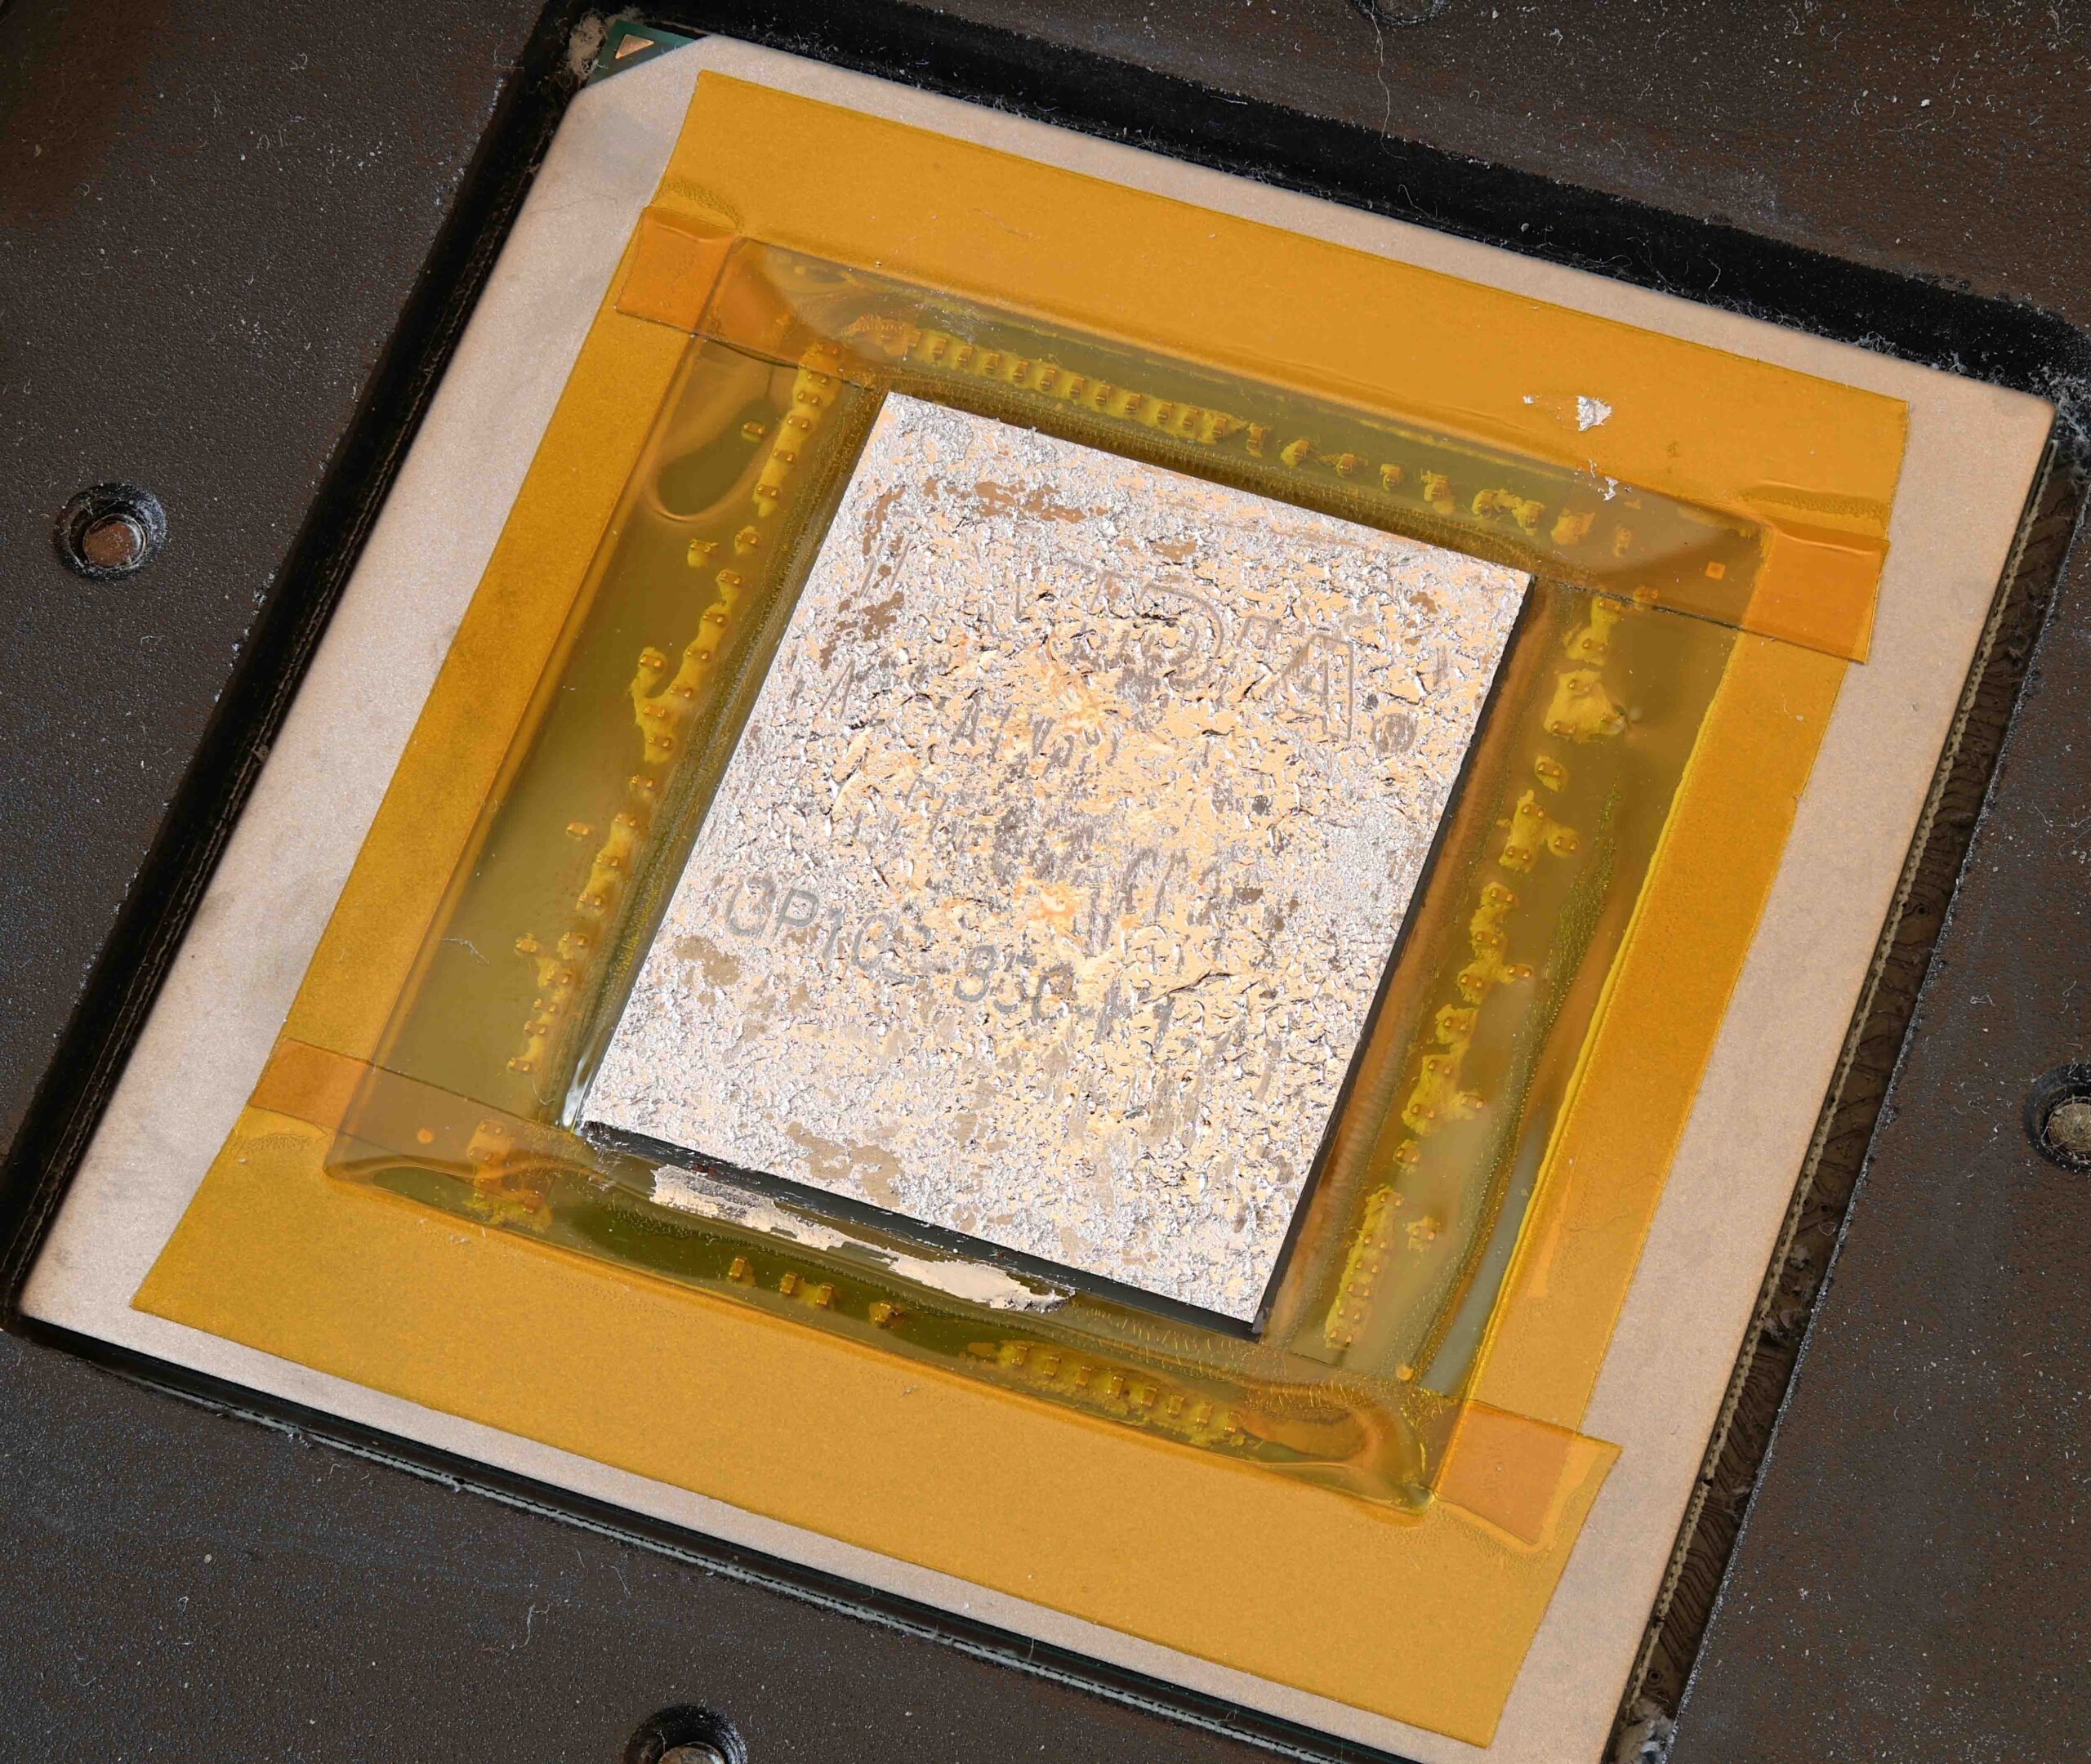
I covered the metal bracket on the 1080 Ti and the circuit board on the 1080 directly with insulating tape* to make it easier to apply the following coat of paint for insulation. The red areas were covered with tape:
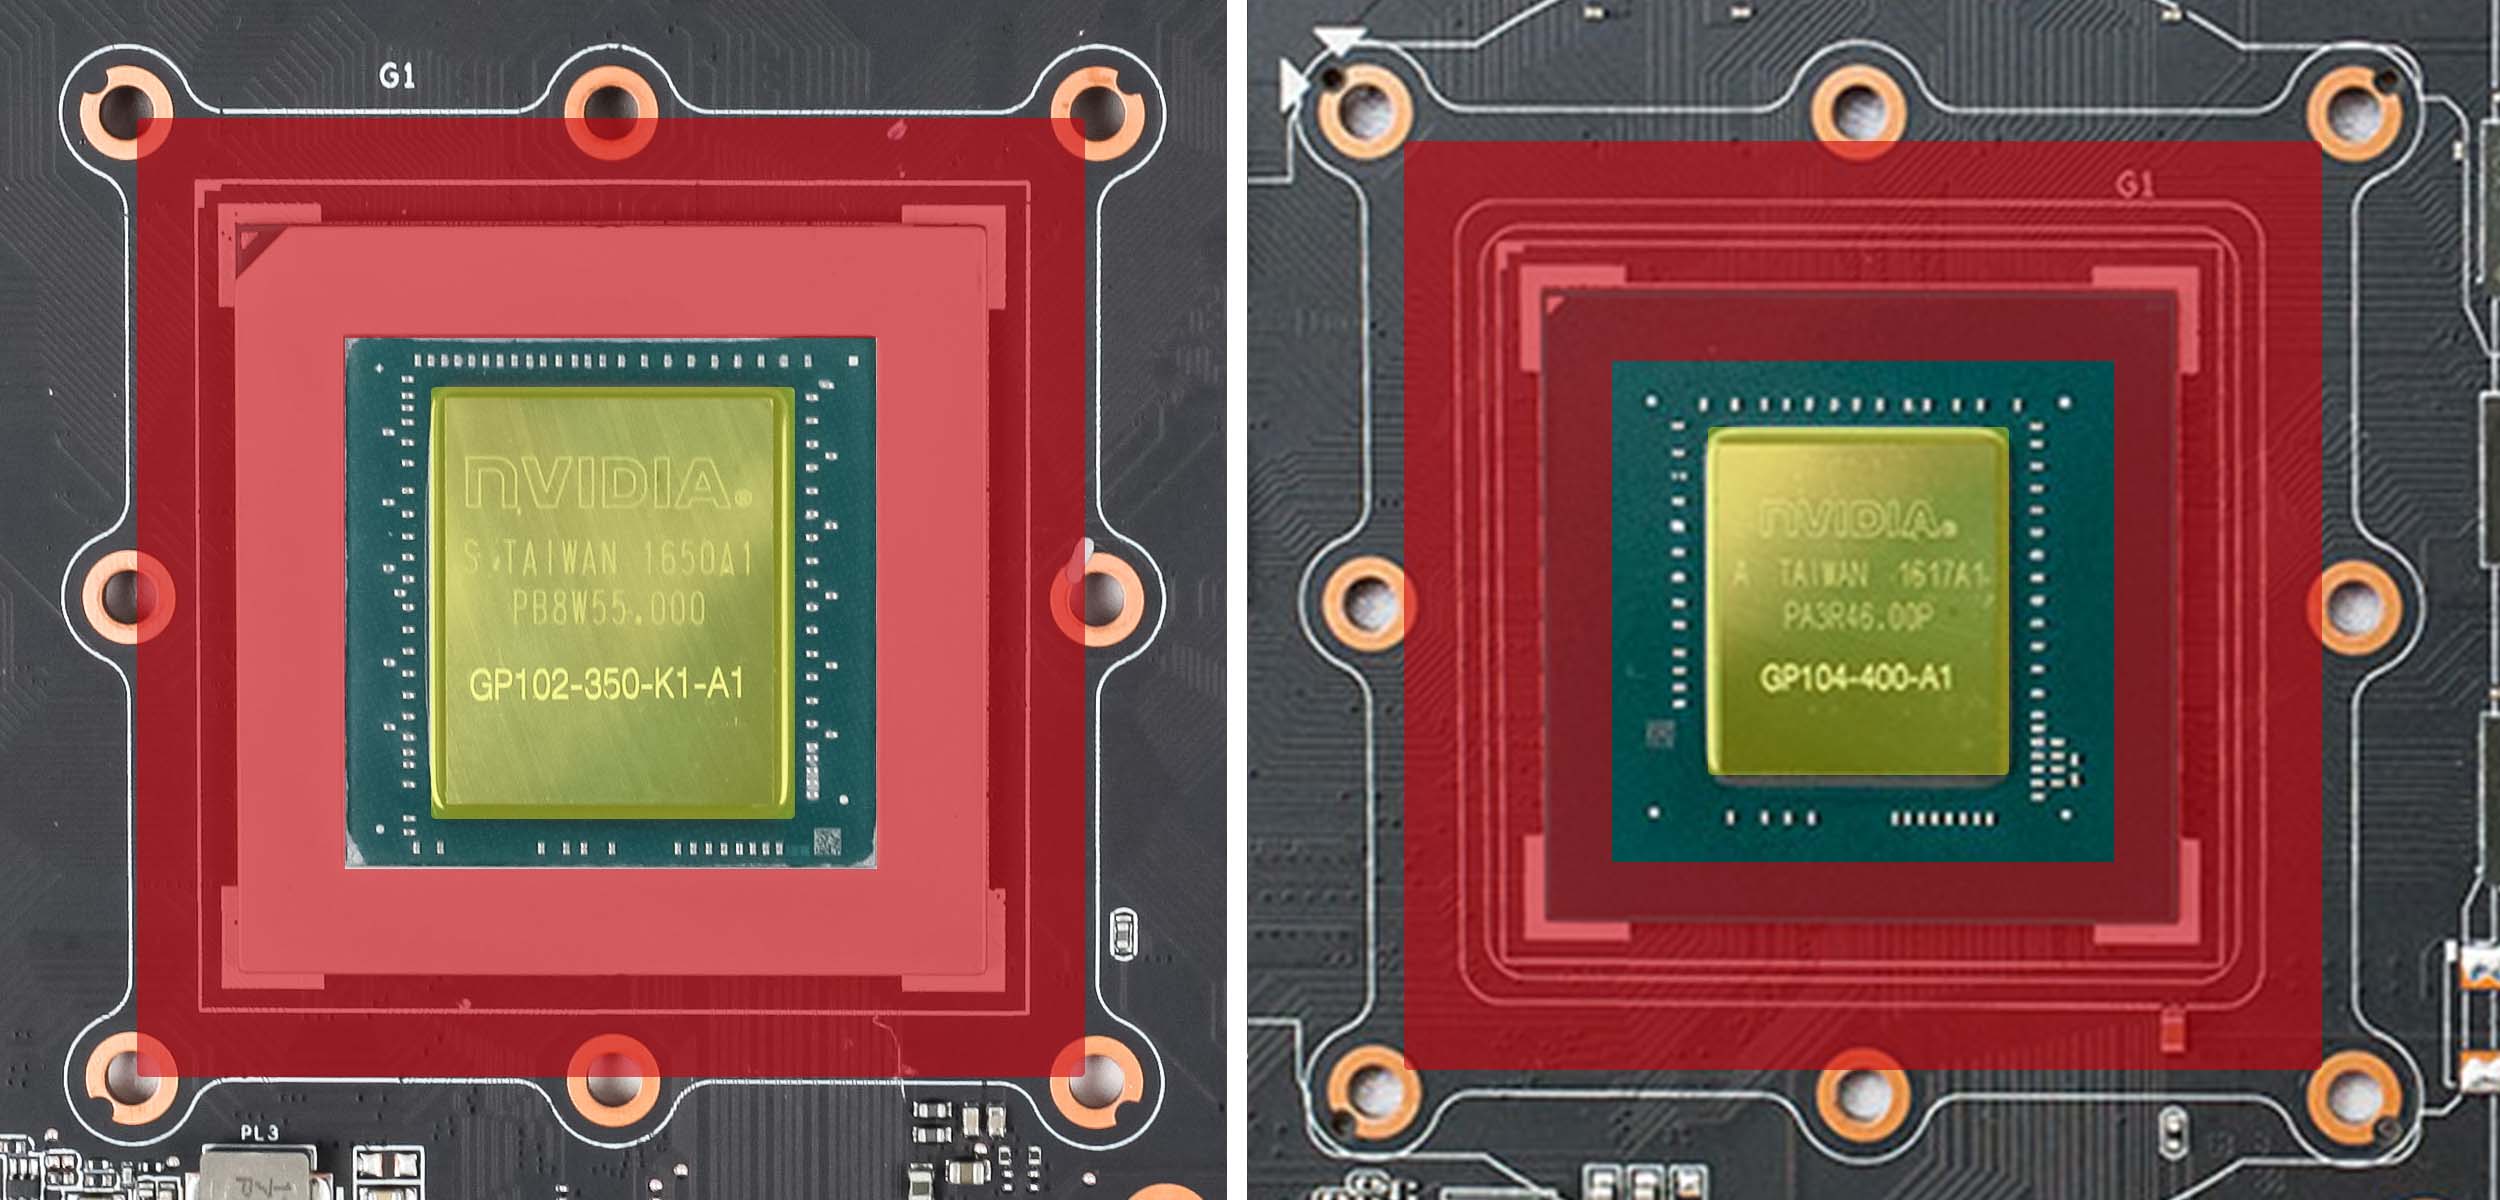
Afterwards, you can paint the exposed area very well with (nail) polish*, but you must be careful around the die, so please be careful (marked in yellow). No paint should get on the die, and if it does, it must be thoroughly removed. You can also insulate the area with Kapton tape*, which has the advantage of being removable. I found painting to be safer and therefore did that, as it does not have to be reversible.
Once all SMD components in the area now marked in blue have been neatly painted over or masked off, the insulating tape can be carefully removed while the paint is still wet:
Now the paint should be left to dry for a few hours, if it has been painted.
Here is an example of how it might look when working with Kapton tape:
 ⧉ Phiarc
Finally, the liquid metal:
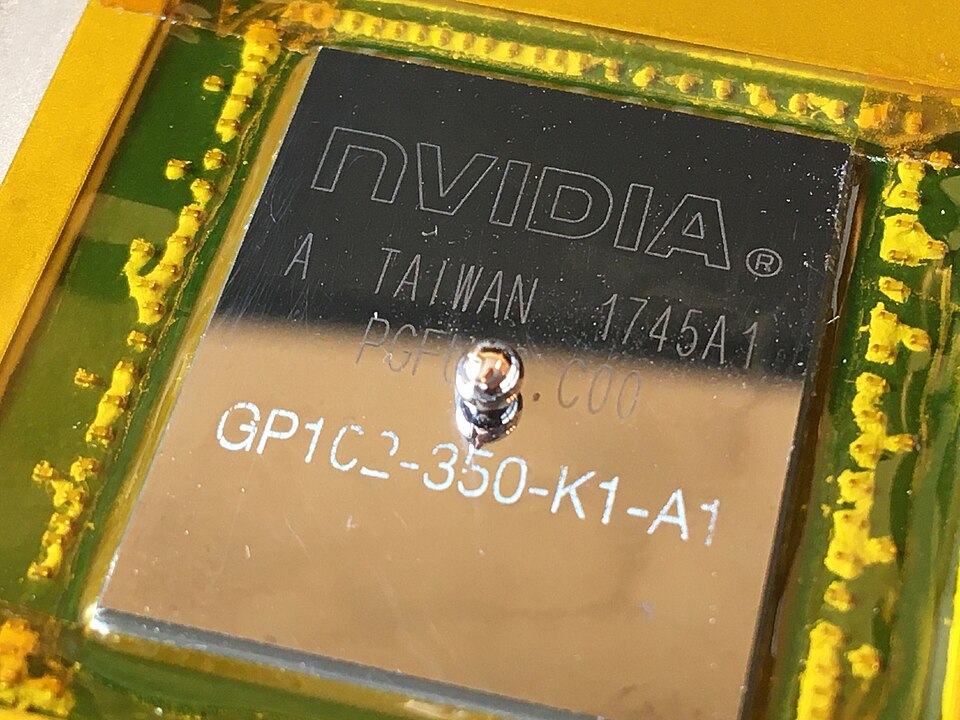
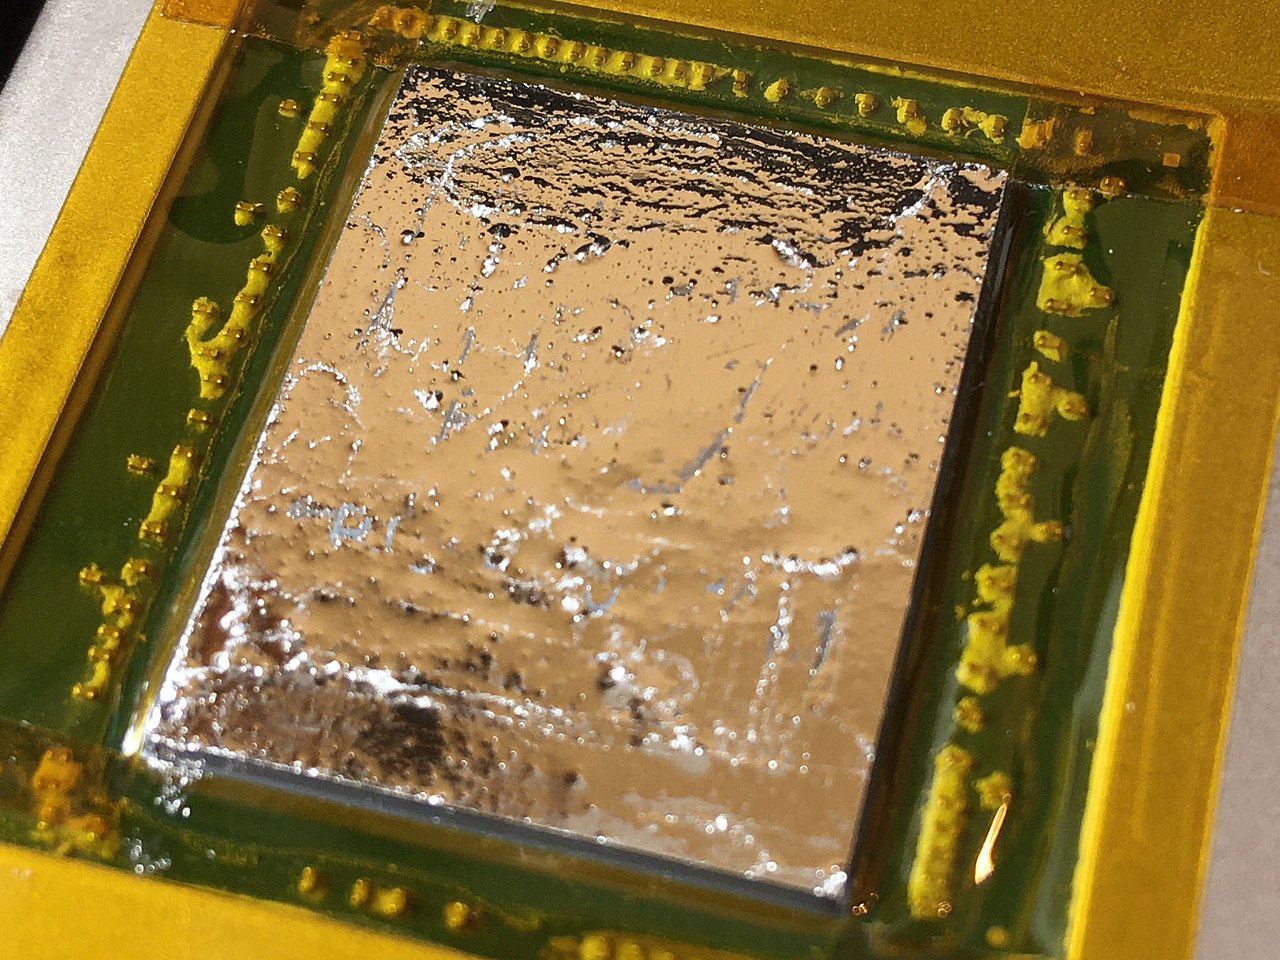
Now comes the actual task of applying the liquid metal. First, place a small “ball” from the syringe in the center of the die:
 ⧉ Phiarc
This is best done by carefully rubbing it in a circular motion on the die using one of the cotton swabs provided until it looks like this:
 ⧉ Phiarc
With time, you will get a feel for when enough has been rubbed in and when the amount is sufficient.
Then reassemble the graphics card backwards and plug it back into the computer.
Observations and conclusion:
The use of liquid metal has really paid off, especially with the 1080 Ti, but also with both cards.
The fans activate a little later because the heat is dissipated more efficiently even passively.
The biggest change is that you can hardly hear the fan until the GPU is at about 75% capacity, and even at full load, HWiNFO shows a temperature that is 5 °C lower than with the MX-4 thermal paste, which was not exactly old or bad.
If you want to divide the fan curve into 10 levels plus “off,” the card previously ran at fan level 8 at 75% load, but now runs at level 4-5 thanks to liquid metal. The temperatures at full load have improved slightly, but above all, the temperatures in the partial load range below 80% have improved significantly.
I no longer hear the 1080 Ti at all in moderately demanding games (e.g. Guild Wars 2 at highest settings, 2560 x 1080), as the load never exceeds 80-85% (this game is heavily CPU-limited) and even then only rarely. Most of the time, the load is in the 40-60% range.
I would immediately recommend this treatment to anyone who owns one of these cards or a similar one. The cards have been running with liquid metal for more than two years now and the cooling performance has not noticeably deteriorated.